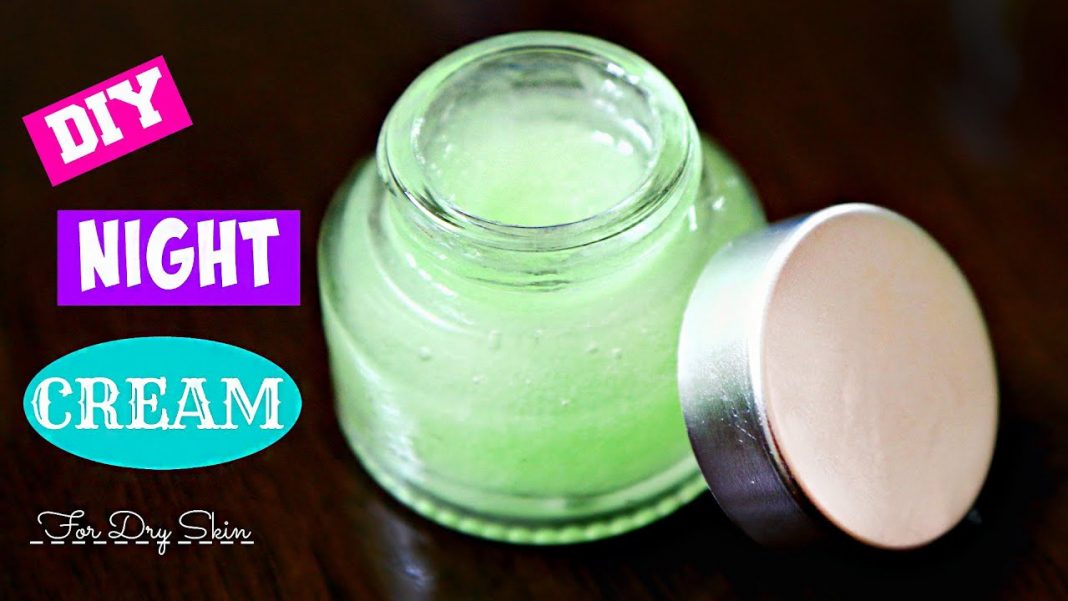
Time to make your own homemade whitening and brightening night cream at home. It is not an easy job to find a good hydrating and moisturizing night cream that offers anti-aging, skin lightening, skin brightening, skin whitening properties with chemical-free ingredients and is cost-effective. Here you are on the right platform to make skin whitening and brightening night cream for oily and dry skin. It is the best homemade night cream for the face and easy to make you’ll surely going to love it.
What’s interesting in the post? You’ll learn to make amazing cream with the most common natural ingredients found in your kitchen. Rice, tomato, and lemon peels are the main ingredients of this cream. These ingredients effectively target spots, pigmentation, absorb excess oil, remove wrinkles, and absorb excess oil. All the ingredients are safe and suitable for all skin types.
In this post you’ll learn:
- Cream for oily skin
- Cream for dry skin
- 3 steps for skin-care
- Scrub for oily skin
- Scrub for dry skin
- Toner for oily skin
- Toner for oily skin
How To Make Whitening And Brightening Night Cream
Read below to learn 2 types of homemade skin whitening and brightening cream for:
Oily Skin
Dry Skin
Homemade Whitening And Brightening Cream
(Oily Skin)
Ingredients For Homemade Night Cream:
- Lemon peels (2 medium sized lemons)
- Rice (half cup)
- Water (1 cup)
- Tomato (half medium sized)
- Aloe vera gel (4-5 tablespoons)
- Turmeric (quarter teaspoon)
- Sweet almond oil (few drops)
Procedure:
- Wash rice properly.
- Soak in 1 cup of water overnight (10-12 hours)
- Blend rice, tomato and fresh lemon peels.
- Strain the mixture.
- Add Aloe vera gel, turmeric and almond oil.
- Mix well for couple of minutes.
- Homemade whitening cream is prepared.
How to use it?
- Wash your face with the cleanser.
- Apply this cream all over your face and neck.
- Massage for 3-4 minutes for best result.
- Leave it overnight.
- Wash your face next morning.
- You can use this in the evening too.
How to store?
- This homemade cream will last long in a refrigerator for 10 days.
- Keep the crem in an air tight container.
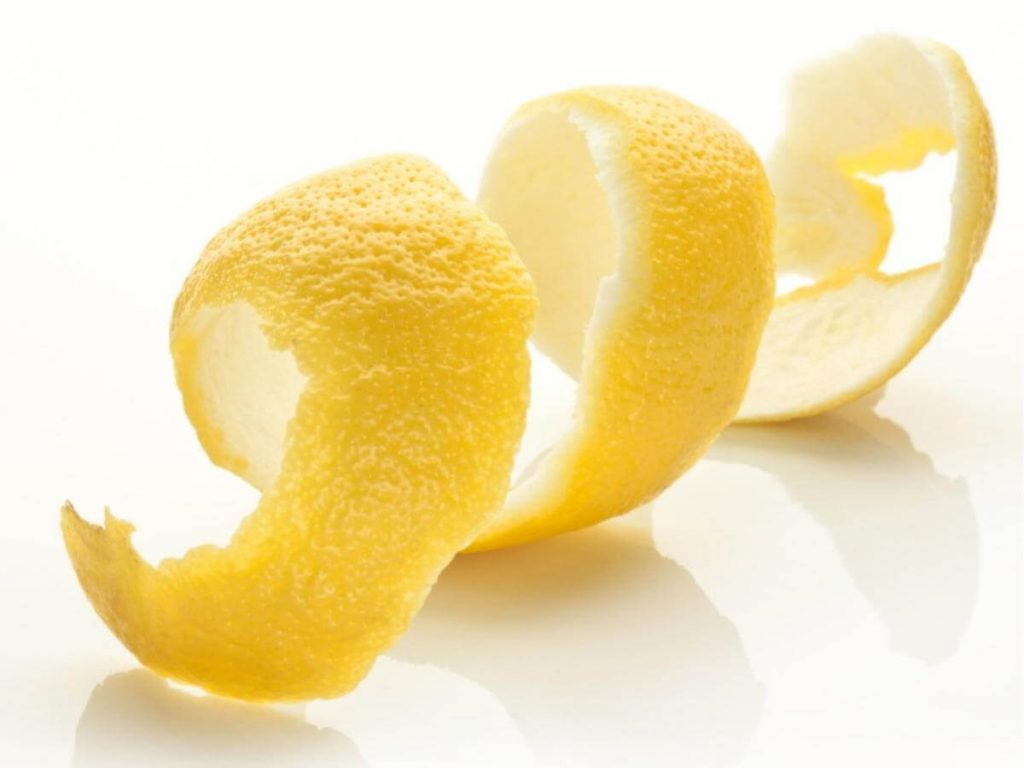
Lemon peels 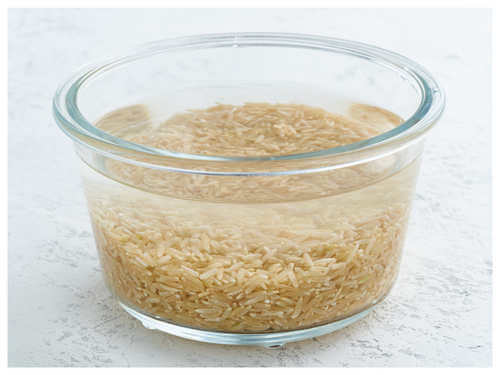
soaked rice water 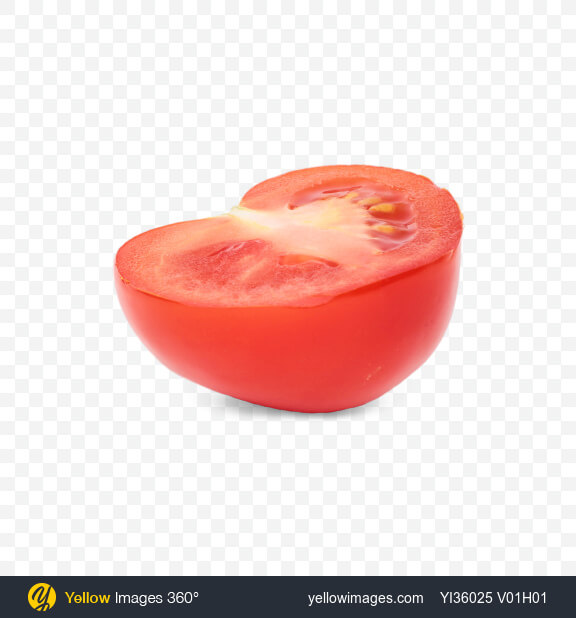
tomato 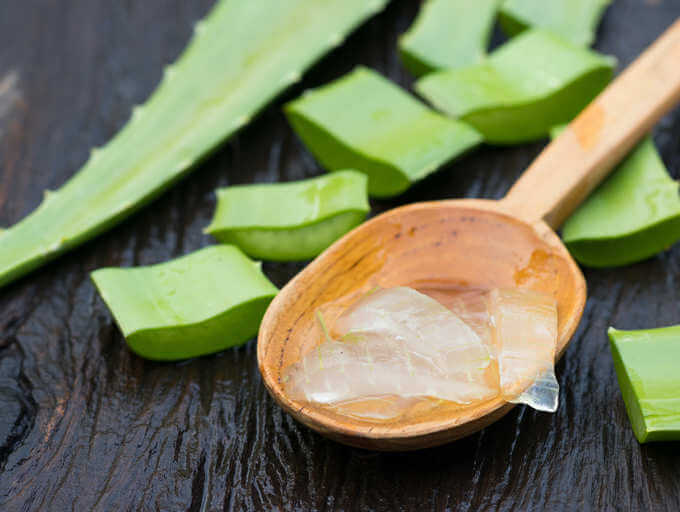
aloe vera gel 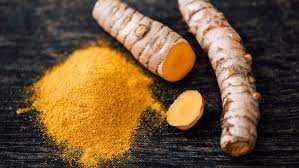
turmeric 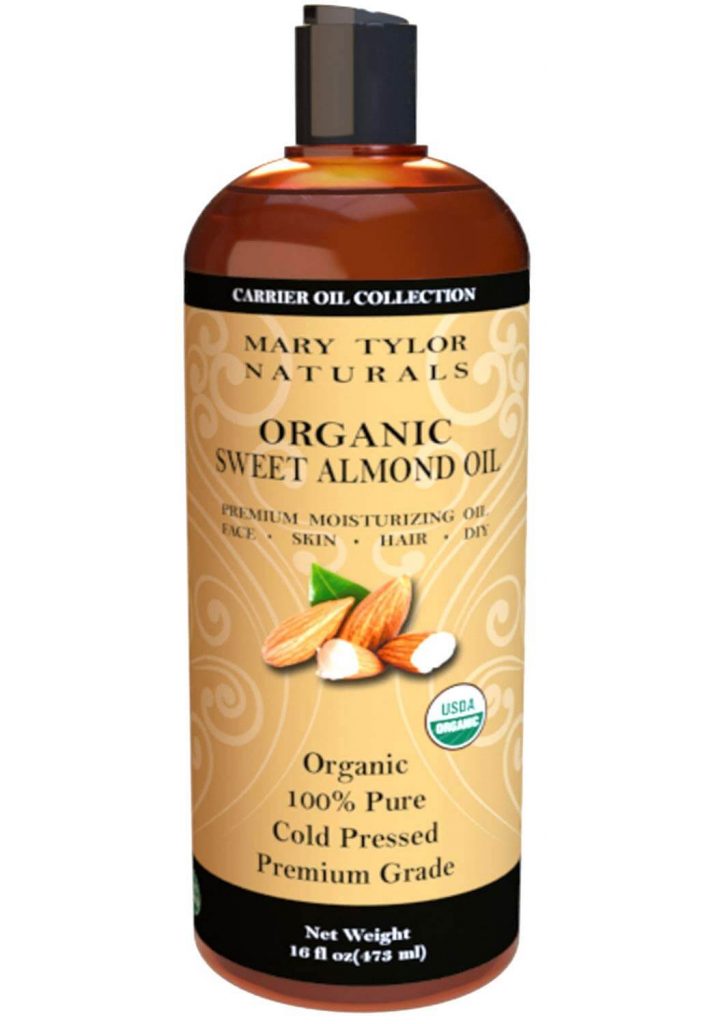
sweet almond oil
Homemade Skin Whitening And Brightening Night Cream
(Dry Skin Type)
Ingredients For Homemade Night Cream:
- Lemon peels (2 medium sized lemons)
- Rice (half cup)
- Water (1 cup)
- Tomato (half medium sized)
- Aloe vera gel or Curd (4-5 tablespoons)
- Turmeric (quarter teaspoon)
- Sweet almond oil (½ teaspoon)
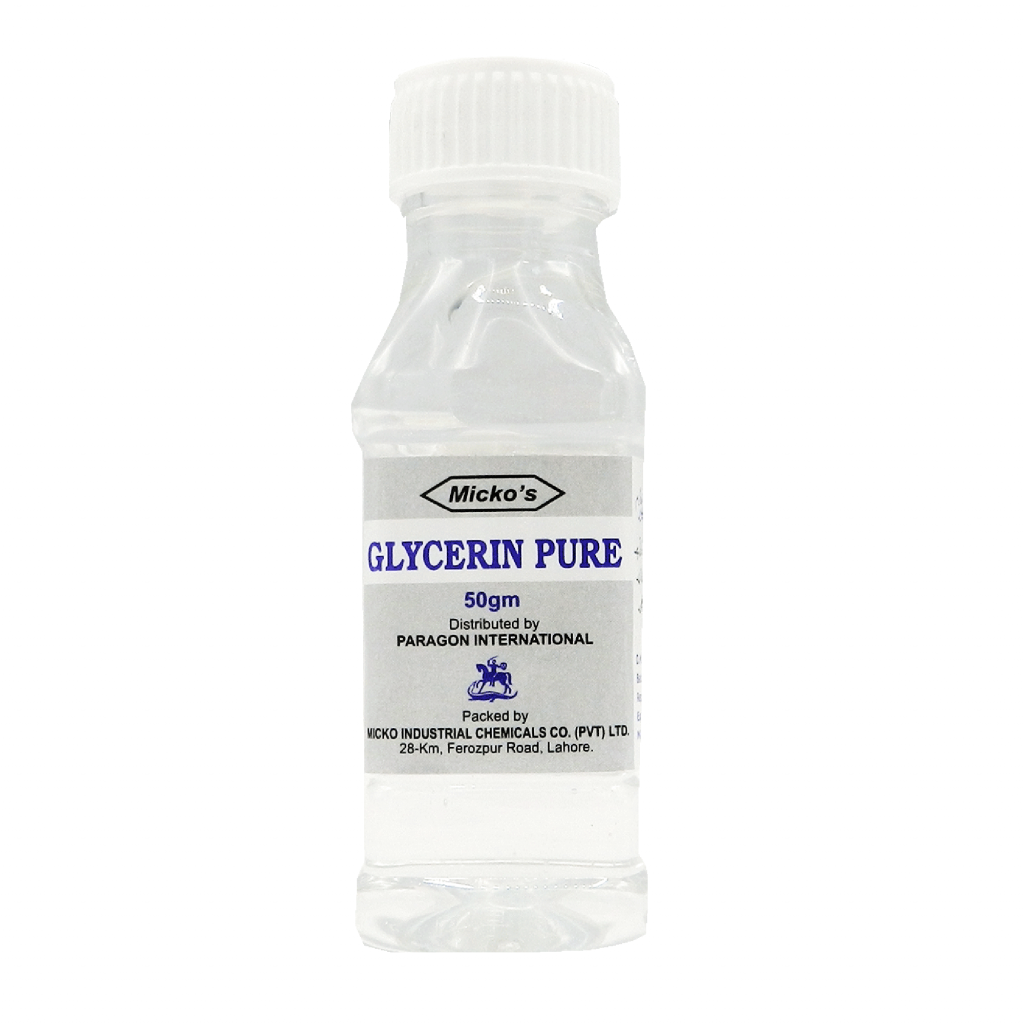
- Glycerin or olive oil (½ teaspoon)
Procedure:
- Wash rice properly.
- Soak in 1 cup of water overnight (10-12 hours)
- Blend rice, tomato and fresh lemon peels.
- Strain the mixture.
- Add Aloe vera gel or curd, turmeric, glycerin or olive oil and almond oil.
- Mix well for couple of minutes.
- Homemade whitening cream is prepared.
How to use it?
- Wash your face with the cleanser.
- Apply this cream all over your face and neck.
- Massage for 3-4 minutes for best result.
- Leave it overnight.
- Wash your face next morning.
- You can use this in the evening too.
How to store?
- This homemade cream will last long in a refrigerator for 10 days.
- Keep the crem in an air tight container.
Regular usage of this homemade skin whitening and brightening cream makes the skin lighten, brighten and tighten too.
To make your skin even more bright and fair, one should follow 3 main skin-care steps for healthy, glowing skin.
3 Skin Care Steps For Skin Brightening
Exfoliate | Tone | Moisturize
Scroll down to know how these steps work and how to make your own scrub and toner for your skin type.
Exfoliation:
It is the process of removing dead skin cells, bacteria, dirt, and excessive oil from the surface of the skin.
Exfoliation is necessary twice a week for healthy clear skin.
If you are a teenager, exfoliate your skin once a week or once in 15 days.
Toner:
This skin-care product helps to remove the last traces of oil and dirt that are stuck in the pores of the skin even after exfoliation and cleansing the face.
It also restores the skin’s natural PH balances, provides hydration without stripping out the skin’s natural moisture. It helps to shrink open/large pores of the skin therefore it should be applied right after cleansing and scrubbing.
Toners should be applied twice daily after cleansing the face and after exfoliation.
10 Simple Natural Toner For All Skin Types
Moisturizer:
Moisturizing the face is necessary for every skin type. People with oily skin think they do not need moisture because of excessive oil, but it is wrong.
No matter what type of your skin is, moisturizing is necessary for healthy clear skin.
If your skin is oily, choose a non-comedogenic moisturizer that won’t clog/block the pores of the skin. Clogged/Blocked pores lead to acne breakout.
Moisturizing is important twice a day after cleansing and toning the face.
If your skin is dry, you can apply thrice or as per need.
5 homemade moisturizers for oily skin
How To Make A Scrub For Oily Skin
- Cinnamon powder (½ teaspoon)
- Rice powder (1 teaspoon)
- Honey (enough to mix)
- Lemon juice (½ teaspoon)
- Mix all the ingredients.
- Apply on your face.
- Gently scrub your face in a circular motion with your two fingers.
- Scrub your face for 2 minutes.
- Wash it off.
- Apply toner.
How To Make A Scrub For Dry Skin
- Sugar (½ teaspoon)
- Rice powder (1 teaspoon)
- Honey (enough to mix)
- Lemon juice (½ teaspoon)
- Mix all the ingredients.
- Apply on your face.
- Gently scrub your face in a circular motion with your two fingers.
- Scrub your face for 2 minutes.
- Wash it off.
- Apply toner.
How To Make A Toner For Oily Skin
- Blend cucumber and strain to get the juice.
- Add half teaspoon of apple cider vinegar in half cup of cucumber juice.
- Toner is ready to use.
- You can store this toner in a spray bottle or any bottle.
- Spray on your face after cleansing your face.
- Or soak one cotton ball/pad on the toner and gently rub on your face evenly.
- Let it dry no need to wash.
- Apply moisturizer after using toner.
How To Make A Toner For Dry Skin
- Blend cucumber and strain to get the juice.
- Add half teaspoon of apple cider vinegar in half cup of cucumber juice and 1 teaspoon of glycerin.
- Toner is ready to use.
- You can store this toner in a spray bottle or any bottle.
- Spray on your face after cleansing your face.
- Or soak one cotton ball/pad on the toner and gently rub on your face evenly.
- Let it dry no need to wash.
- Apply moisturizer after using toner.
If you have any questions or suggestions regarding skincare, please put them in the comment section below.

