
The first time I tried the lotion bar recipe, I honestly didn’t expect such a simple recipe to make such a big difference in my skincare routine. I was tired of using lotions that felt sticky, artificial, or worked only for a few minutes, so I decided to try something more natural—and that’s when I discovered the magic of lotion bars. They’re easy to make, deeply nourishing, and surprisingly fun to use. In this article, I’ll walk you through everything you need to know, from what a lotion bar really is and why it’s so beneficial for your skin, to a step-by-step lotion bar recipe with pictures to help you understand each stage clearly. I’ll also answer some frequently asked questions so you can feel confident before making your own. If you’ve ever wanted soft, healthy skin using simple, natural ingredients, this guide is definitely worth reading till the end.
I personally love lotion bars because they are mess-free, travel-friendly, and made with pure, natural ingredients that you can fully trust.
What Is A Lotion Bar
A lotion bar is a solid, mess-free moisturizer made from natural butters, oils, and waxes that gently melt when applied to your skin. Unlike regular lotions that come in bottles, a lotion bar stays solid at room temperature. It softens only with your body heat, making it easy to apply and perfect for everyday use. Many people love lotion bars because they are simple, long-lasting, and free from unnecessary chemicals—just pure nourishment for your skin.
In simple words, a lotion bar is a natural, skin-loving alternative to liquid lotion—gentle, effective, and made to keep your skin soft, smooth, and healthy every day.
Benefits Of Lotion Bar
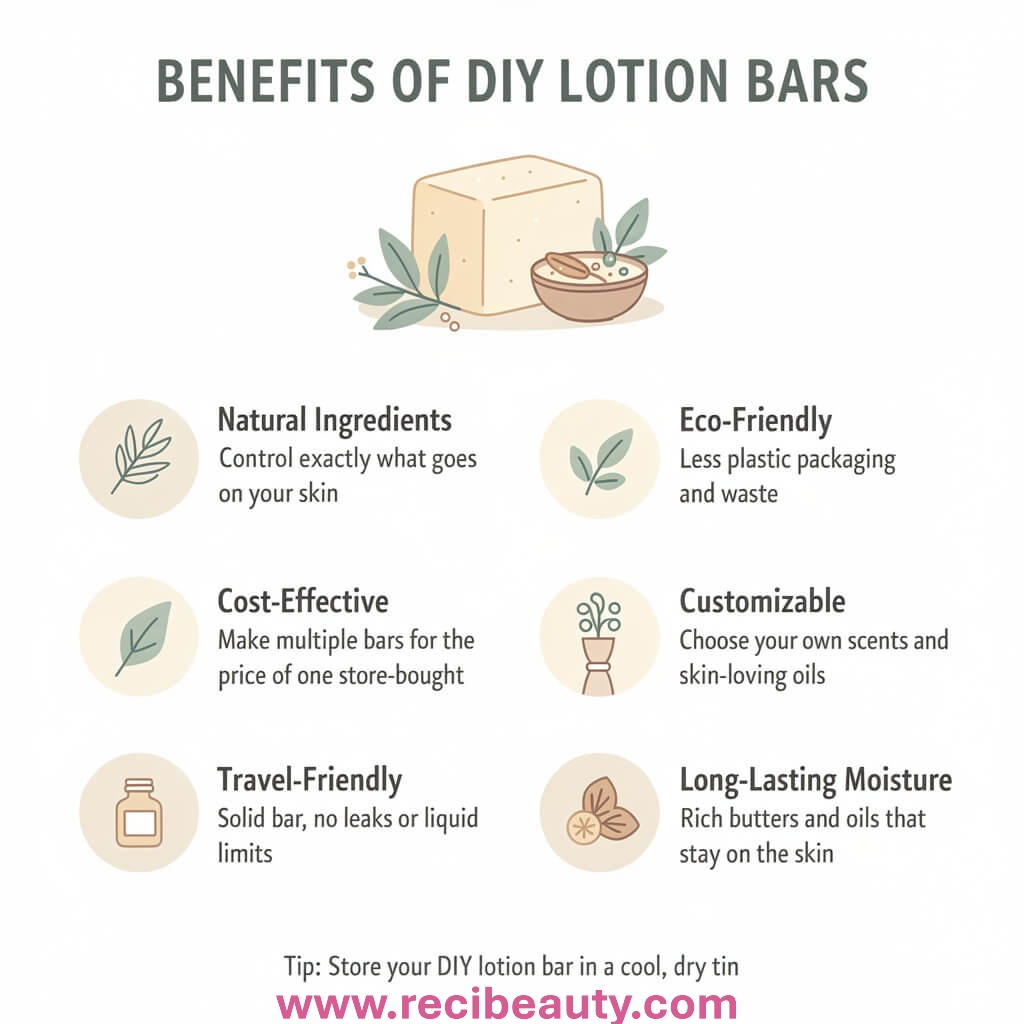
- Made with natural ingredients
- Perfect for sensitive skin
- Deep moisturization
- Eco-friendly and zero waste.
- Travel-friendly.
- Long-lasting hydration
- Cost effective
- Customizable for your skin
How To Make a Lotion Bar Easily At Home
It’s solid at room temperature, melts gently with body heat, and deeply moisturizes dry skin without feeling greasy.
Read below for the step-by-step DIY lotion bar recipe, which is easy to make.
Non-Greasy, Easy, Simple Lotion Bar Recipe
Ingredients
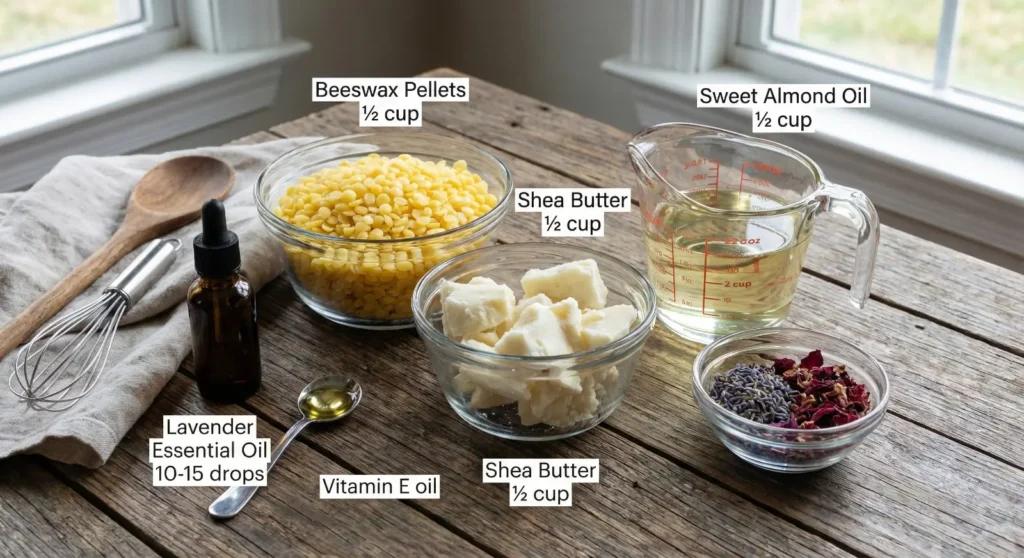
You only need three main ingredients, plus optional add-ins:
Main Ingredients:
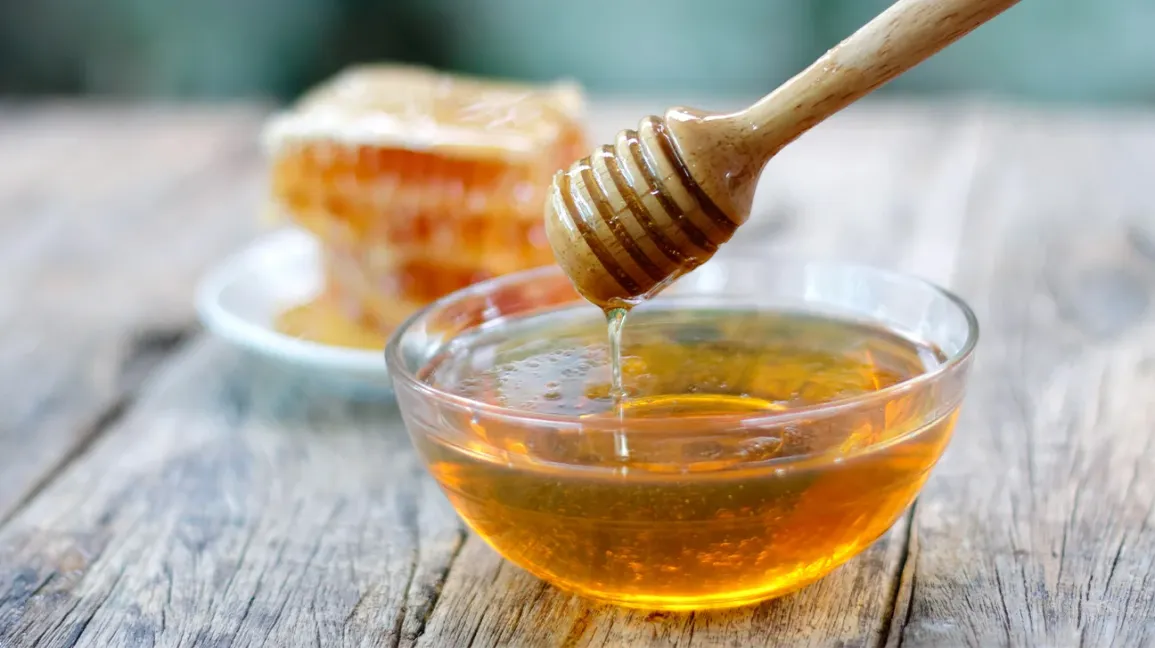
• Beeswax pellets (½ cup)
(Gives the bar its solid shape)
• Shea butter (½ cup)
(Deeply moisturizes and repairs dry skin)
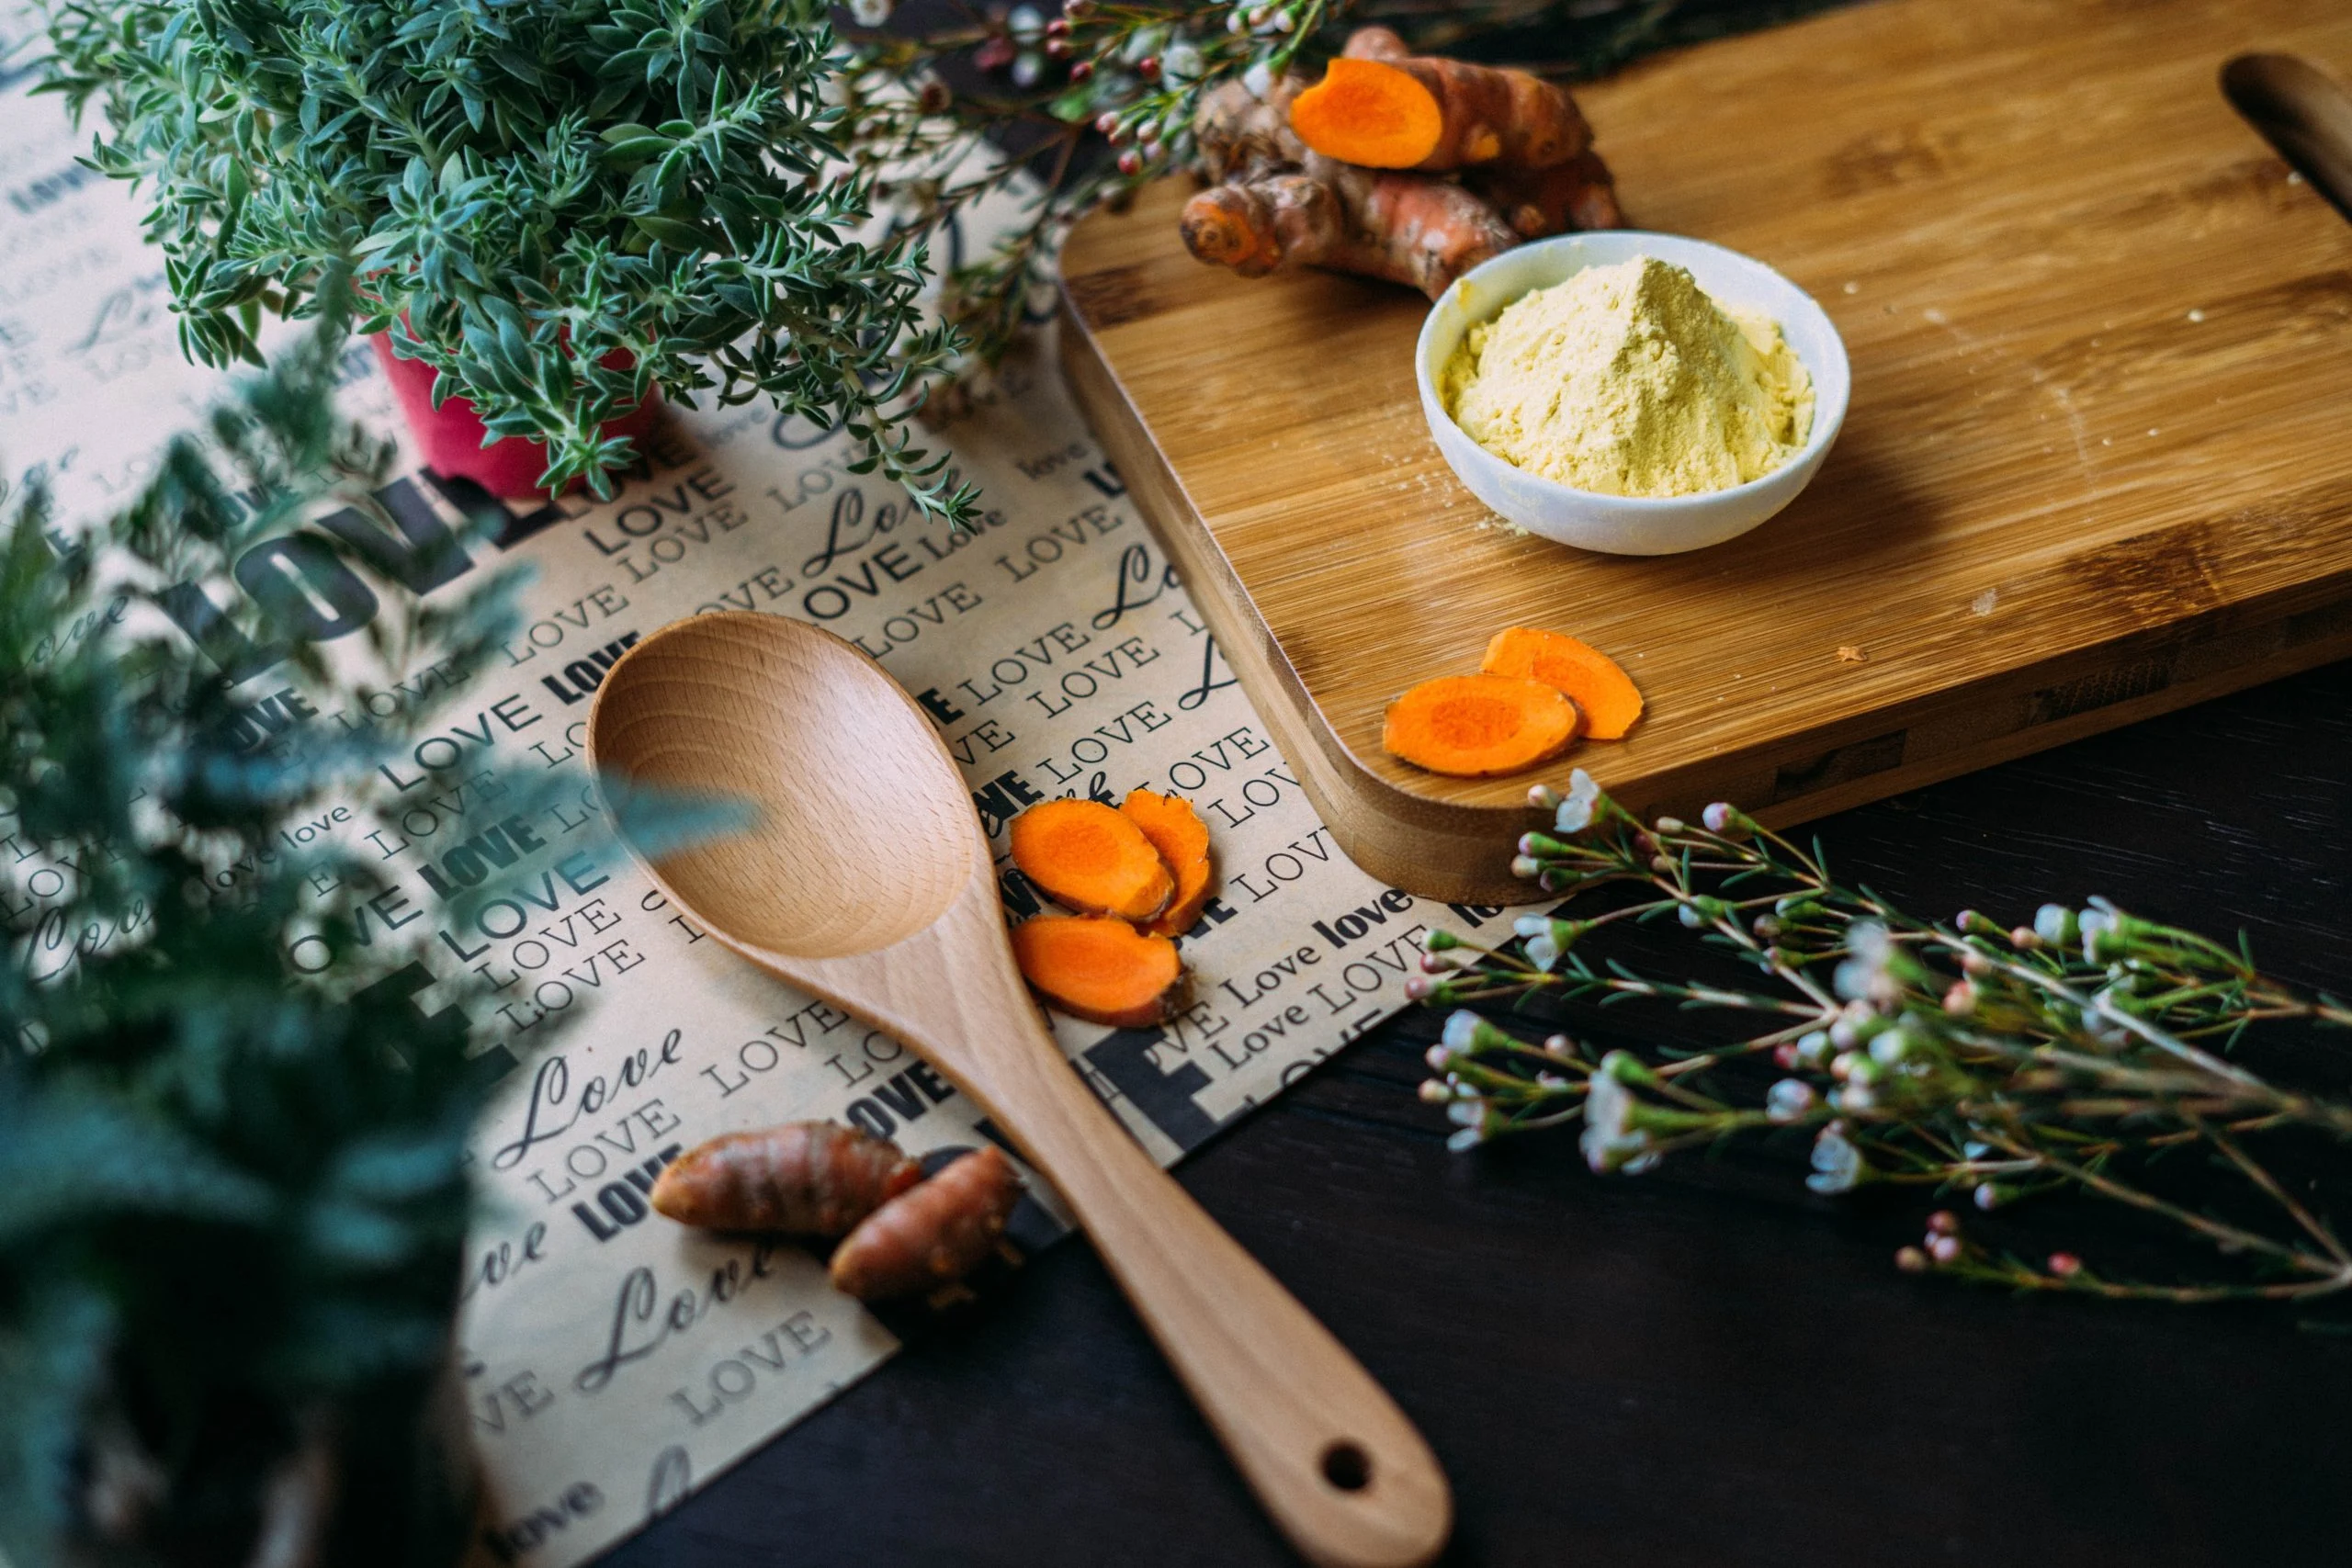
• Carrier oil (choose one) (½ cup):
Sweet almond oil / Coconut oil / Olive oil / Jojoba oil
Optional Ingredients:
• Essential oil (lavender, rose, vanilla, or tea tree) 10-15 drops
• Vitamin E oil (1 teaspoon)
(for skin nourishment and shelf life)
• Dried flower petals (optional, for beauty)
Step-by-Step DIY Lotion Bar Recipe
Before starting, prepare first for the perfect lotion bar:
Step 1: Prepare Your Setup
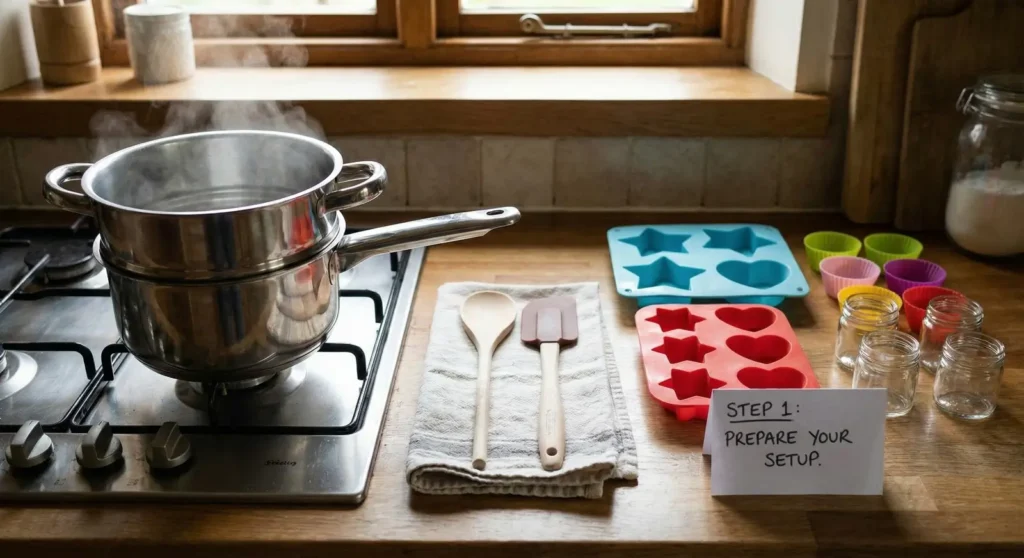
• A double boiler (or a heat-safe bowl over a pot of hot water)
• A spoon or spatula
• Silicone molds or small containers
• Make sure everything is washed, clean, and dry.
Step 2: Melt the Beeswax

• Add ½ cup beeswax pellets into the double boiler.
• Heat on low flame and stir gently until the beeswax melts completely.
Tip:
Never overheat beeswax—it should melt slowly to preserve its benefits.
Step 3: Add Shea Butter
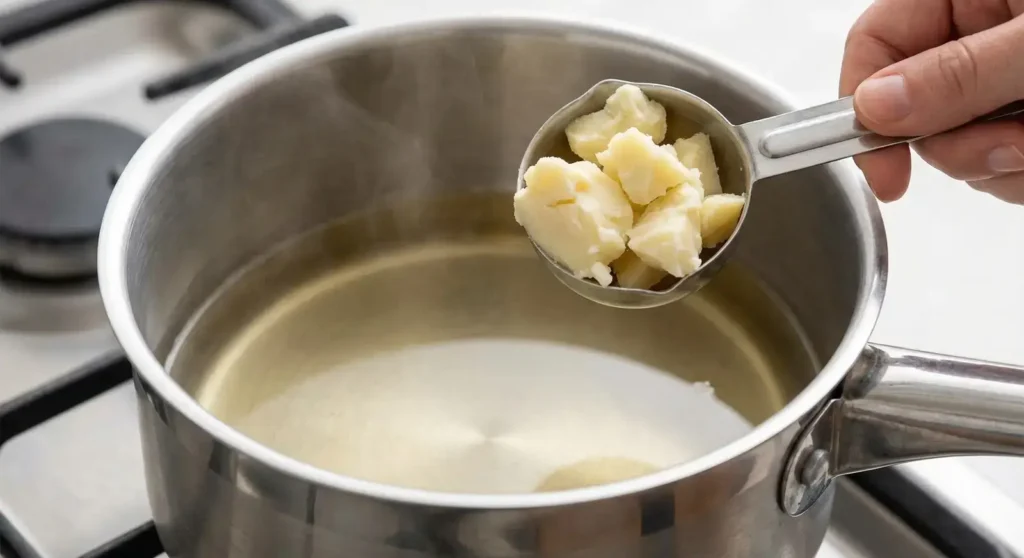
• Once the beeswax has melted, add ½ cup shea butter.
• Stir continuously until it fully melts and blends smoothly with the beeswax.
Step 4: Add Carrier Oil

• Now pour in ½ cup of your chosen carrier oil.
• Mix gently and allow everything to melt together into a smooth liquid.
Step 5: Remove from Heat
• Turn off the heat and let the mixture cool slightly for 1–2 minutes.
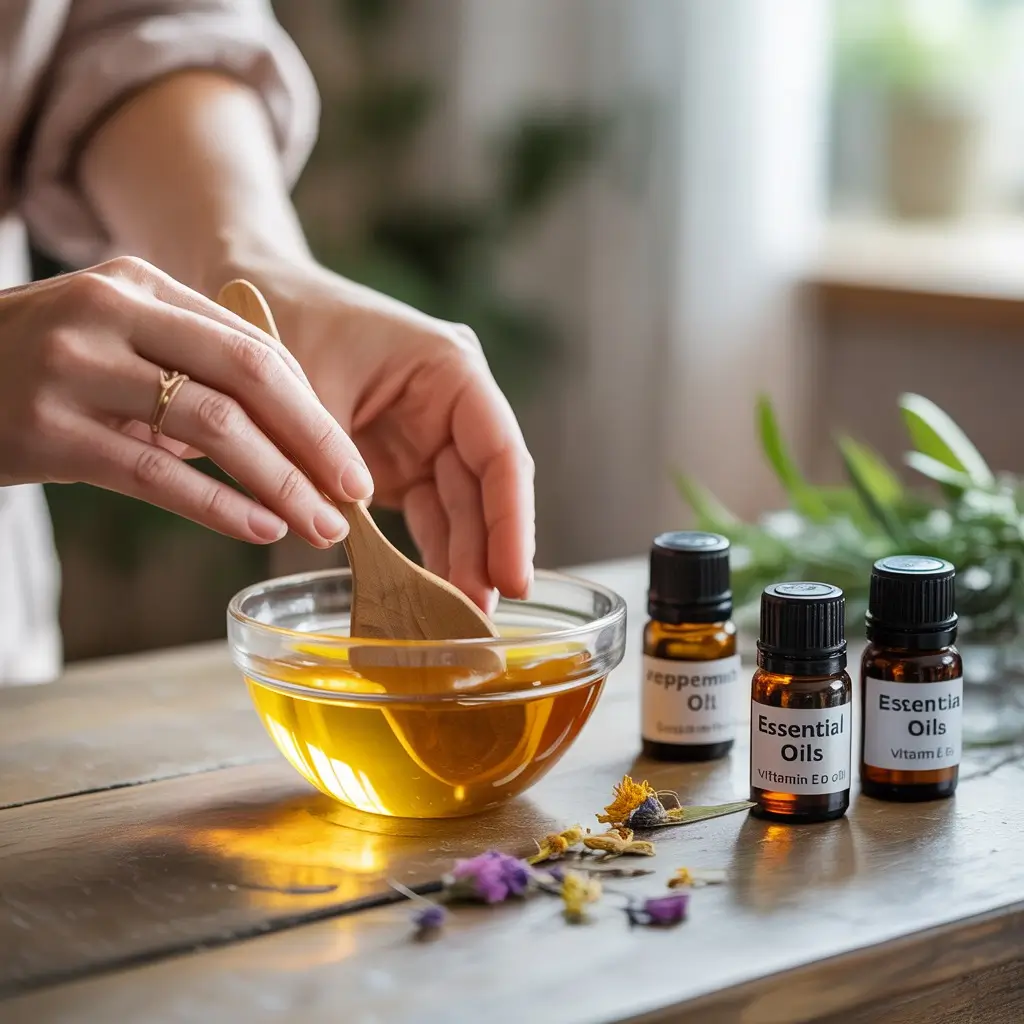
Now add:
• Essential oils
• Vitamin E oil
• Stir well so everything blends evenly.
Step 6: Pour into Molds
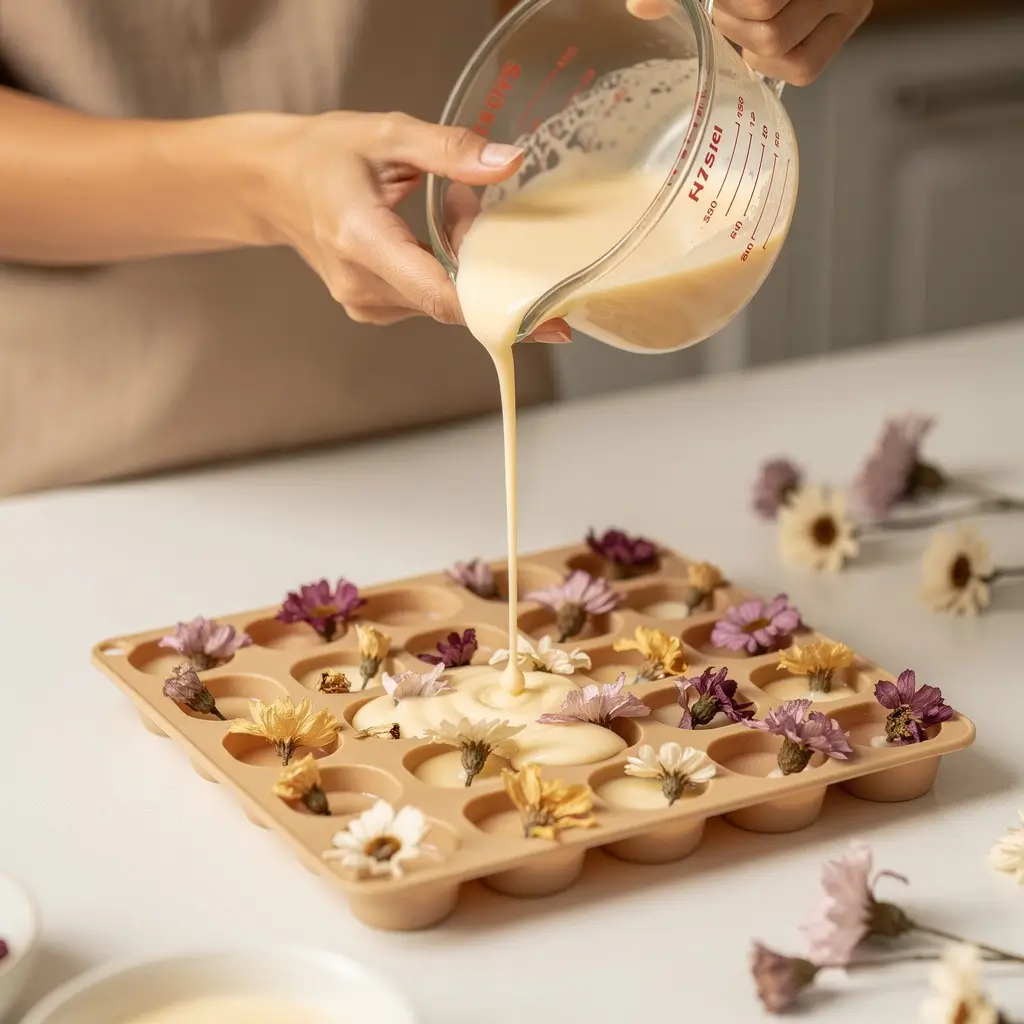
• Carefully pour the mixture into silicone molds or small containers.
• If using dried flowers, place them in the mold before pouring for a decorative touch.
Step 7: Let It Set
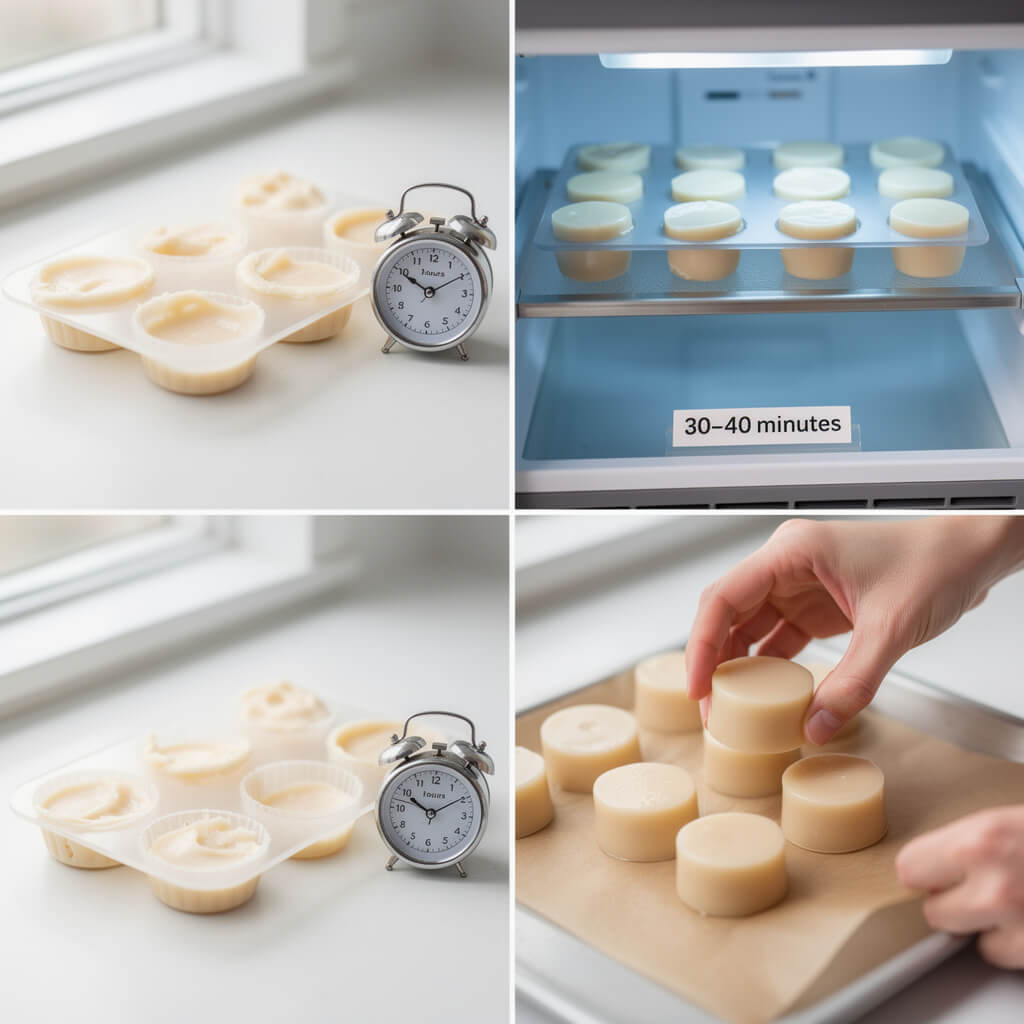
• Allow the lotion bars to cool and harden
• At room temperature: 2–3 hours
• Or in the refrigerator: 30–40 minutes
• Once fully solid, gently remove them from the molds.
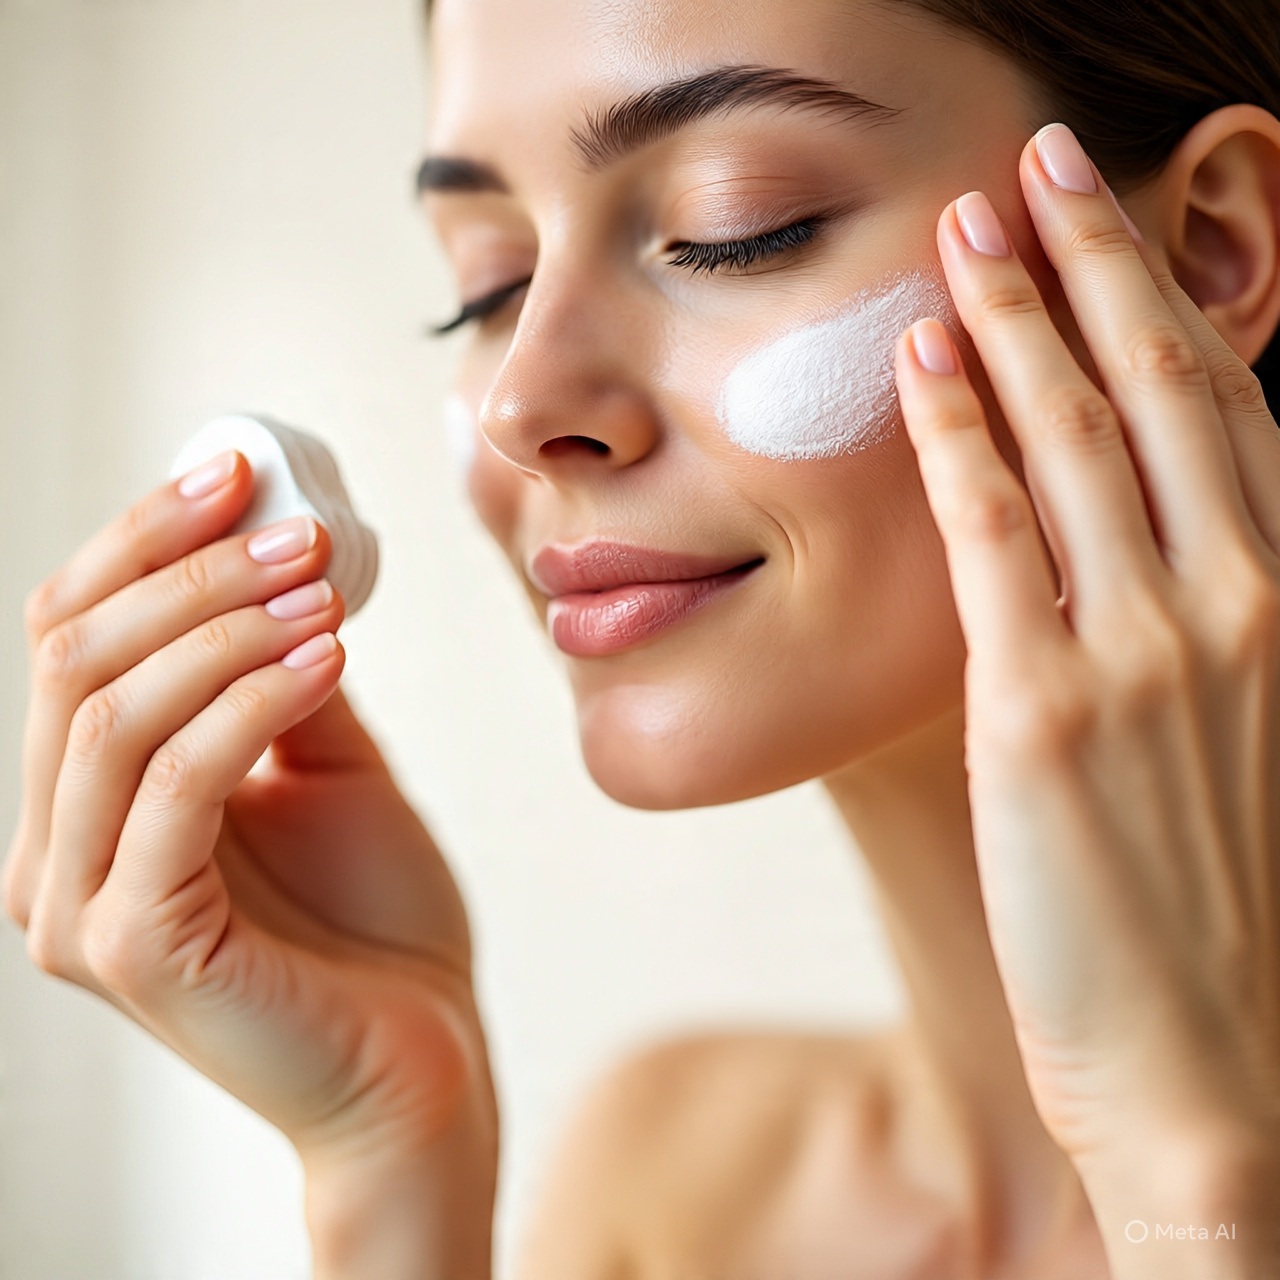
How to Use a Lotion Bar
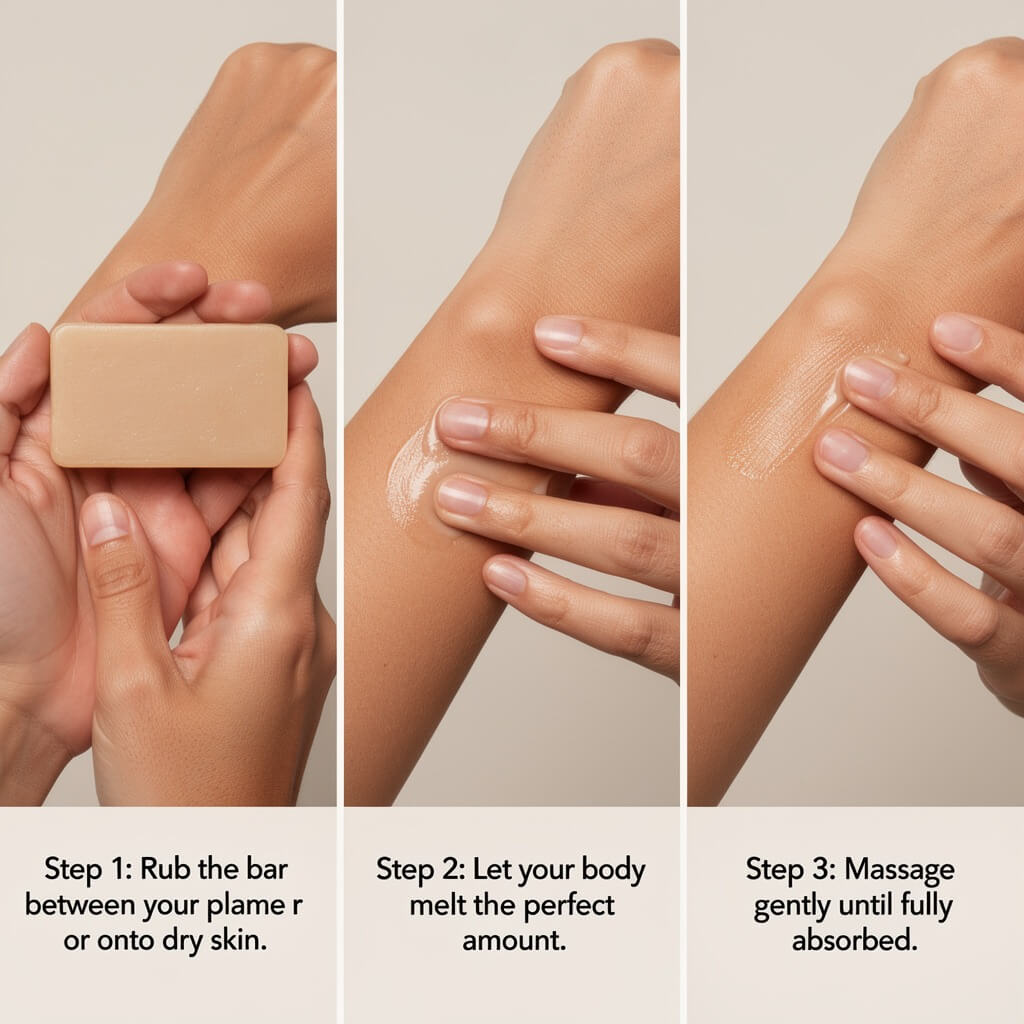
• Rub the bar between your palms or directly onto dry skin.
• The warmth of your skin will melt just the right amount.
• Massage gently until absorbed.
Perfect for:
Dry hands
Elbows and heels
Body moisturizing
Winter skincare
How To Store Lotion Bar
- Store in a cool, dry place.
- Avoid direct sunlight
- Shelf life: 6–12 months
- If you’re using silicone molds, store the bars in an airtight container after popping them out of the molds. They will last for up to a year.
- Store out of direct sunlight and in a cool room.
- If your house is above 78 degrees, the bars can melt and should be stored in the refrigerator.
DIY Lotion Bar Recipe With Essential Oil
You can consider these essential oils for your lotion bar.
• Bergamot (Citrus bergamia)
• Cedarwood (Cedrus deodara)
• Cypress (Cupressus sempervirens)
• Grapefruit (Citrus x paradise)
• Lavender (Lavandula angustifolia)
• Peppermint (Mentha × piperita)
• Sweet Orange (Citrus sinensis)
• Tea tree
Frequent Asked Questions About Lotion Bar Recipe
How To Add Natural Color to Lotion Bars
A small amount of natural colors can be added to the bars.
Cocoa Butter Lotion Bar Recipe
Cocoa butter can be added instead of shea butter. It also has great moisturizing properties.
Lotion Bar Recipe Without Beeswax
You can substitute a plant-based wax like candelilla wax.
Follow the same recipe as written above with candelilla wax.
Can You Make Lotion Bars Without Wax?
Yes, you can make wax-free lotion bars with butter and oil.
For wax-free bars, use a high ratio of hard butters and oils that are solid at room temperature.

