
You’ll never spend money on expensive facial treatments after trying this homemade facial that you’ll surely gonna love. You can give your skin a spa-quality facial using only natural kitchen ingredients. I love this natural facial because it is the only instant remedy that makes my skin INSTANTLY GLOWING. Yes, you read the right words, instant glow. Try to allot 1 hour for this facial. Grab the ingredients and start preparing for a homemade facial.
Scroll till the end to learn:
- 5 steps to do a facial at home for instantly glowing skin.
- Tips for better results.
Homemade Facial Steps:
- Cleansing
- Steaming
- Exfoliating
- Massaging
- Face Pack
Step 1: Cleansing For Homemade Facial
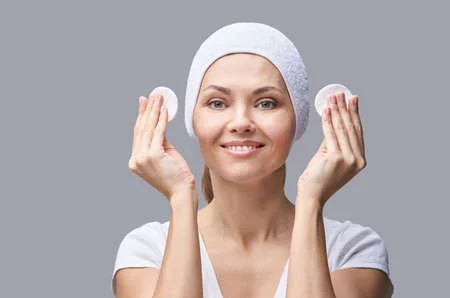
- To begin with this step, first, tie your hair tightly with a hairband.
- Take a bowl.
- Add 4 tablespoons of boiled milk and 1 teaspoon of lemon juice.
- Mix well and leave it for 10 minutes to let the mixture curdle.
- Strain the mixture with a muslin cloth.
- Do not discard the leftover milk. (it works well as a massaging cream)
- Now, dip a cotton ball or pad in the mixture you strained.
- Rub gently cotton balls on your face.
- Wash it off.
- You are done with the first step.
Step 2: Steaming For a Homemade Facial
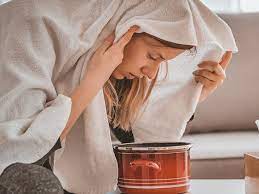
- Take a pan.
- Add water and allow it to boil.
- Turn off the flame.
- Take a steam for 8-10 minutes.
- You can take a steam with a steamer.
- You have completed the second step.
Step 3: Exfoliating
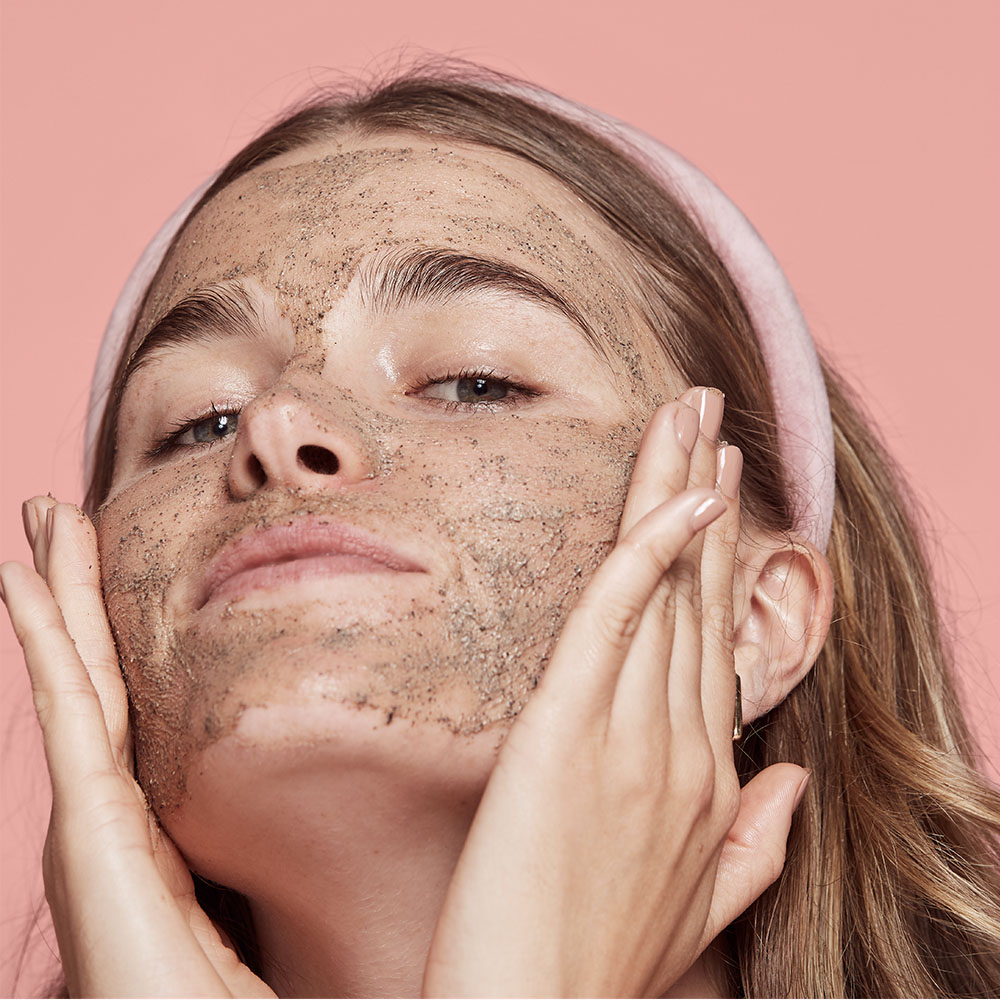
- Right after steaming, scrub your face gently.
- Take a bowl.
- Add ½ tablespoon of rice powder, ½ tablespoon of coffee powder, ½ tablespoon of lemon juice, and 1 tablespoon of honey.
- Mix well.
- Apply on your face.
- Start scrubbing your face for 2-3 minutes.
- Wash it off.
- You are done with the third step.
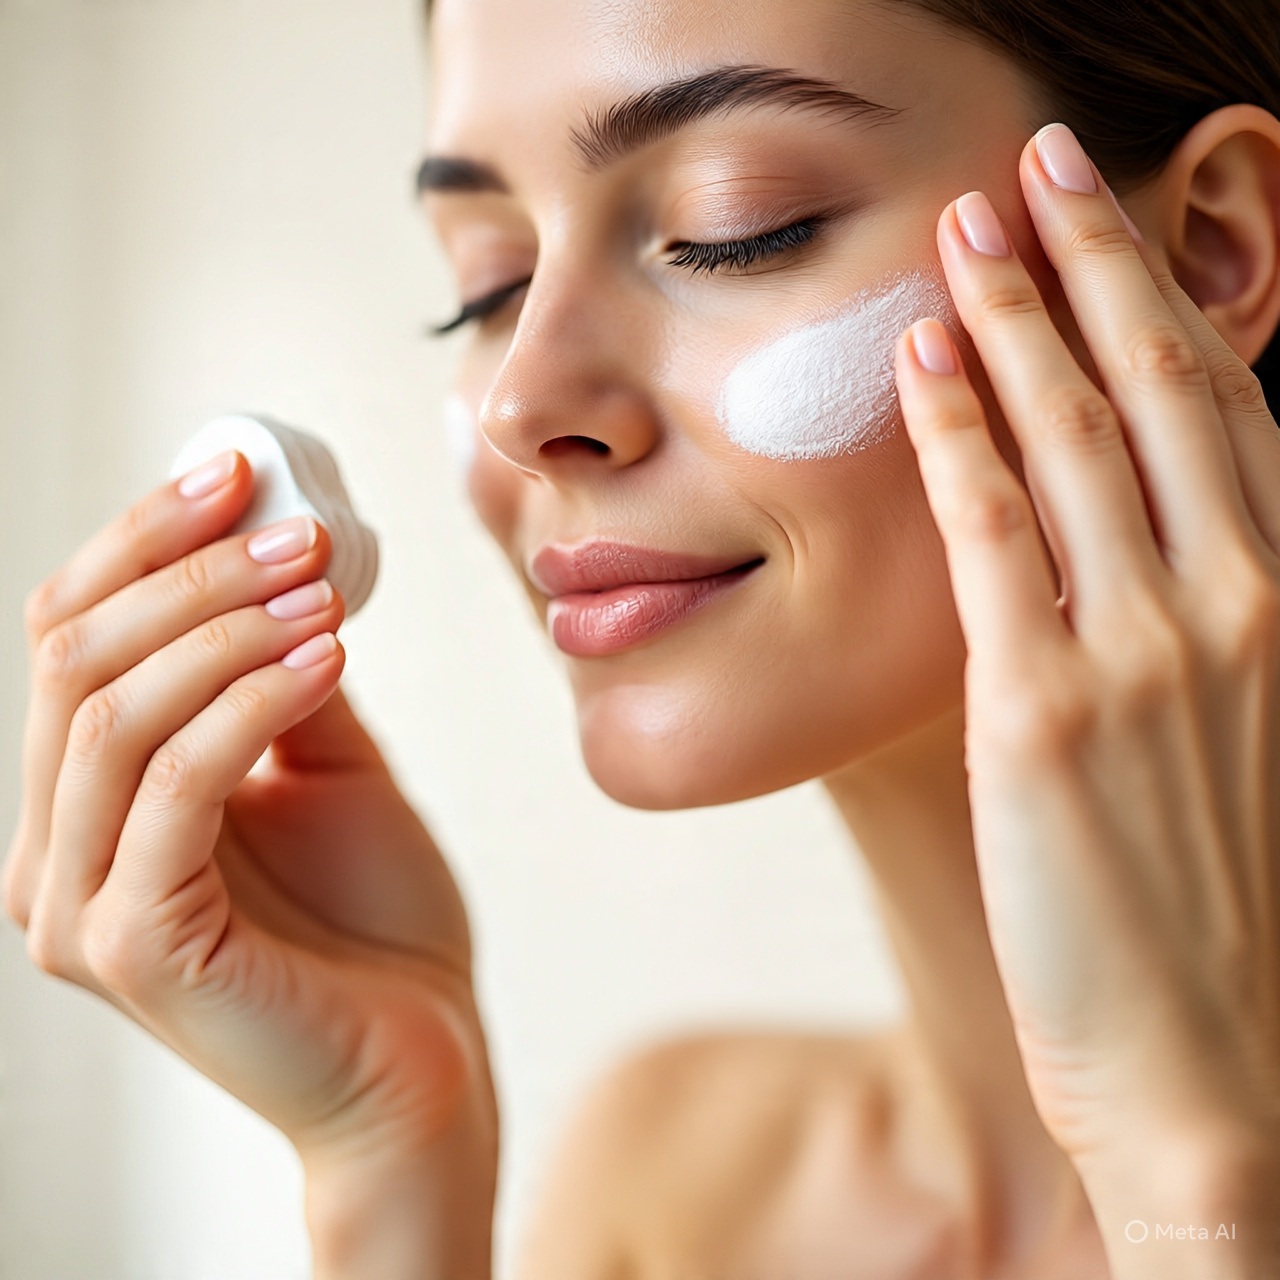
Step 4: Massaging For Homemade Facial
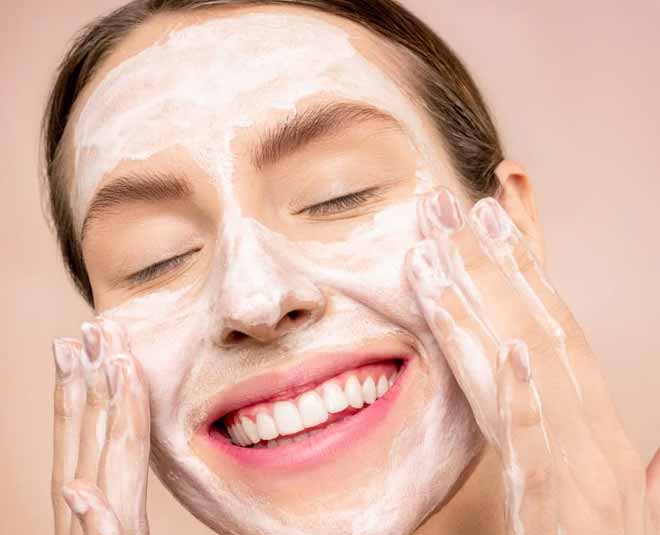
- It’s time to use the leftover milk that you have prepared.
- Take the leftover milk and apply it to your face.
- Start massaging your face properly for 4-5 minutes.
- Wash it off.
Pro tip:
If your skin is acne prone or oily, you can massage it with aloe vera gel.
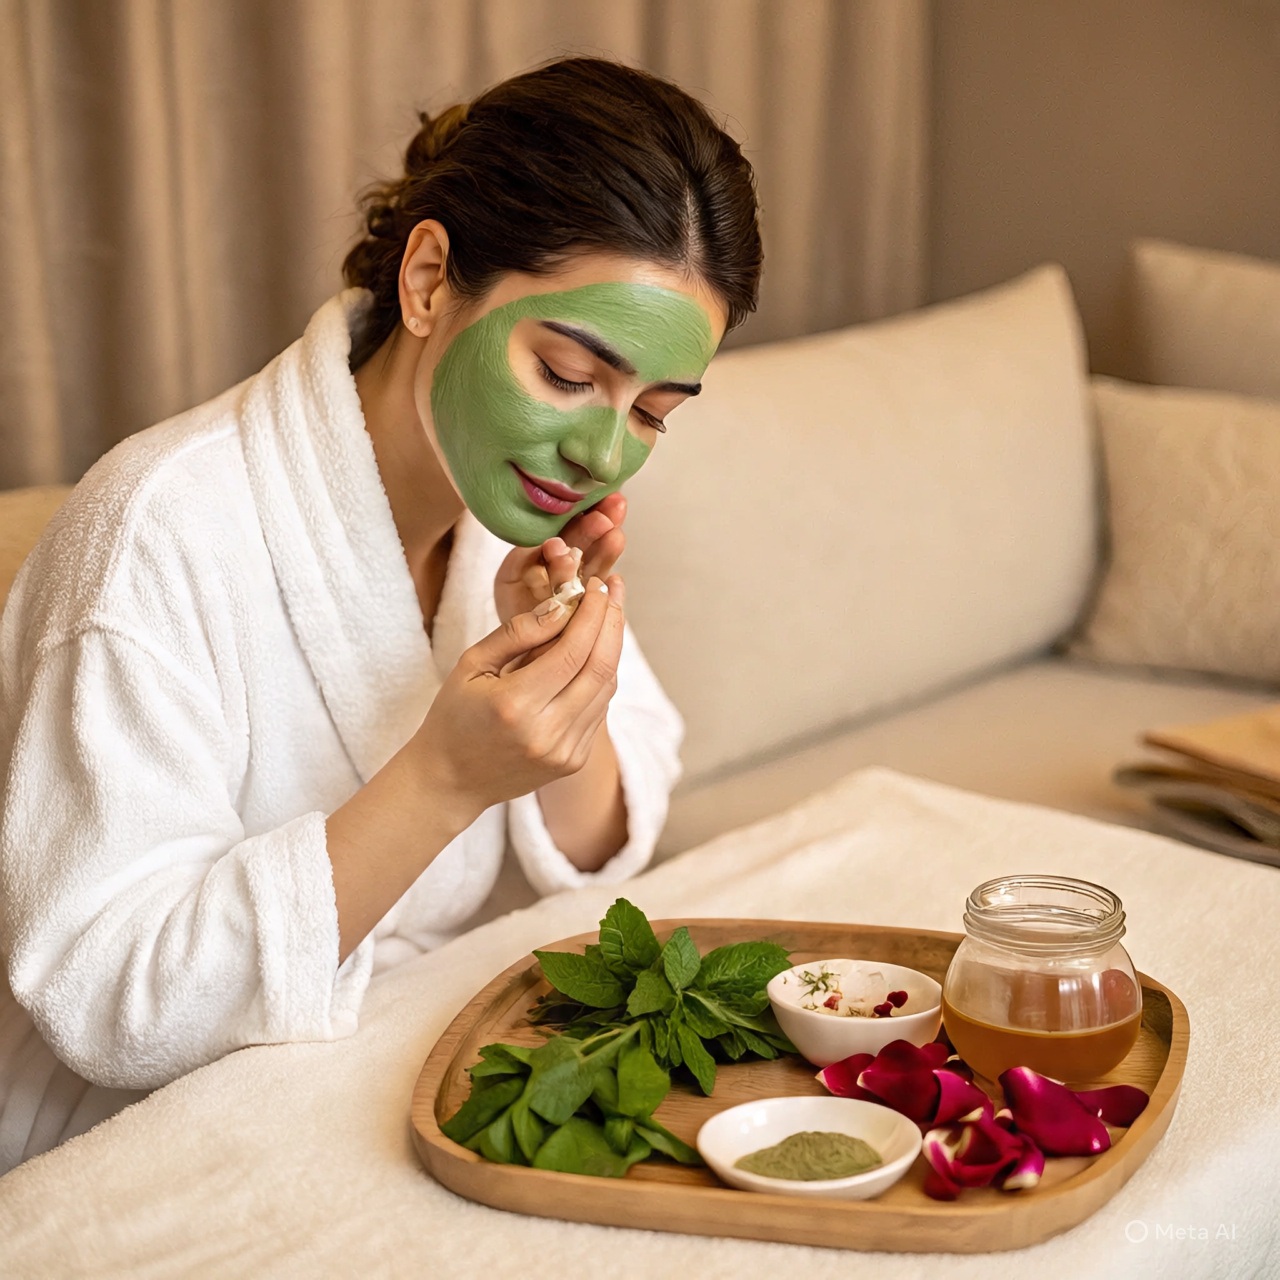
Step 5: Face Pack

- Now prepare a face pack and leave it on your face for 20-25 minutes.
- Take a bowl, add ½ tablespoon of orange peel powder, and ½ tablespoon of dry milk powder, and mix with tomato juice.
- You can also mix these ingredients with the mixture of milk and lemon that you have strained for cleansing.
- Apply on your face.
- Leave it for 20-25 minutes.
- Wash it off.
Pro tip:
If your skin is acne prone, use sandalwood powder instead of dry milk powder.
You can also try these face pack recipes that are mentioned below according to your skin concern:
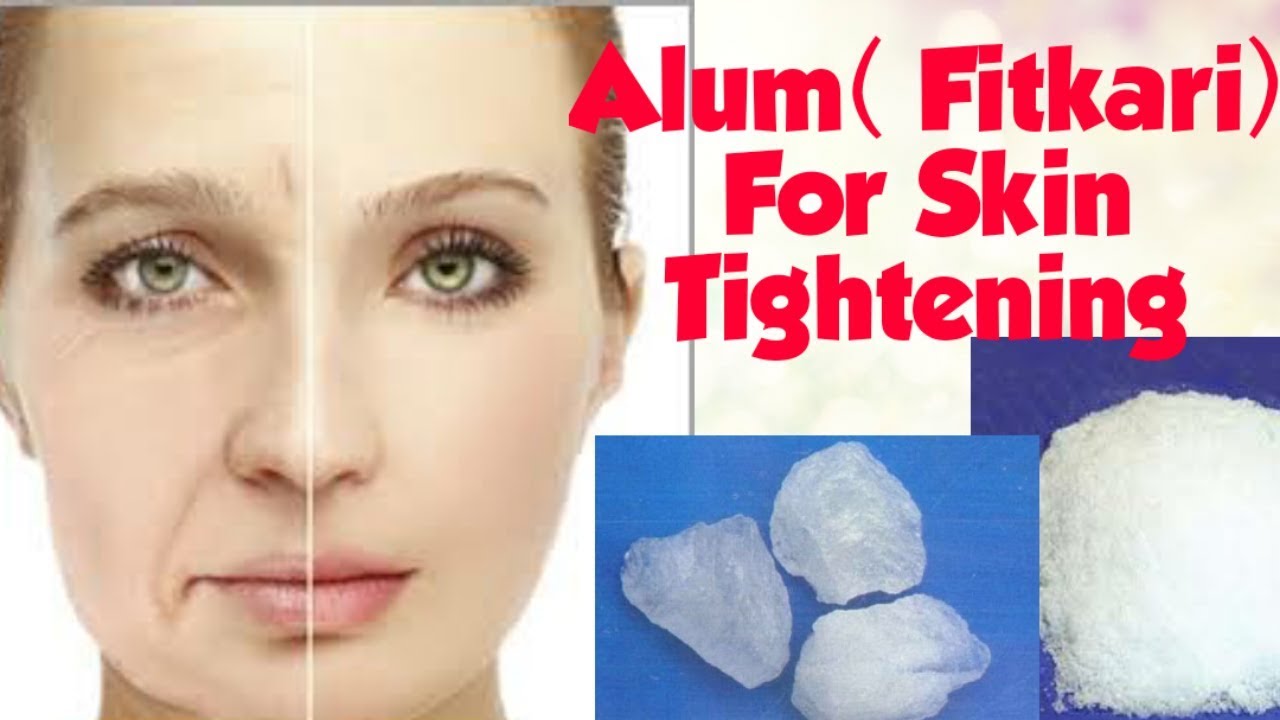
Face Pack For Pre-mature Aging
- Take a bowl.
- Add almond powder and red lentil powder in equal amounts and mix with the banana paste.
- To make a banana paste, simply mash the banana to get the paste.
- Apply to your face.
- Leave it for 25 minutes.
- Wash it off.
Benefits:
- This face pack tightens the overall skin.
- Helps reduce wrinkles and fine lines.
- Prevent new wrinkles from forming.
- Reduce saggy skin.
- Rejuvenate skin.
- Shrink pores.
- Makes the skin youthful.
Face Pack For Pimples
- Take a bowl.
- Add 1 teaspoon of charcoal powder and a quarter teaspoon of cinnamon powder, and mix with honey.
- You can add 1 tablespoon of neem powder.
- Apply to your face.
- Leave it for 25 minutes.
- Wash it off.
Benefits:
- This removes pimples and prevents new acne from forming.
- Control acne breakouts.
- Reduce pimple marks.
- Unclog pores.
- Regulate oil production.
- Detoxify skin.
- Makes the skin clean and clear.
- Reduce pimples.
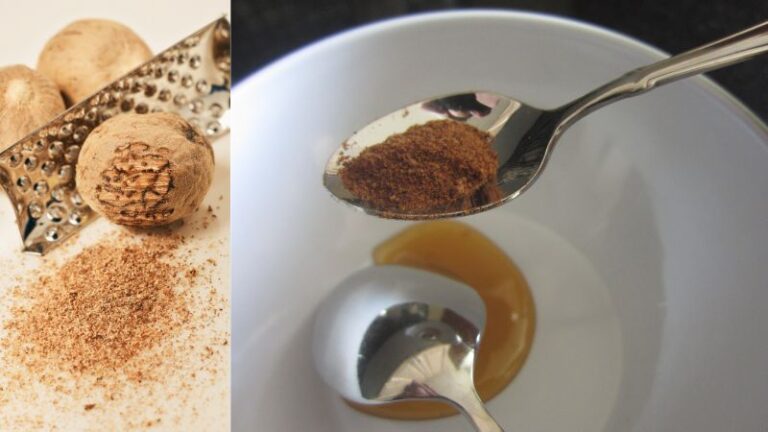
Face Pack For Skin Lightening
- Take a bowl.
- Add licorice powder (1 teaspoon), nutmeg powder (½ tablespoon), and lemon juice (½ tablespoon).
- Mix these ingredients with the mixture of milk and lemon that you have prepared for cleansing.
- Or you can mix it with papaya paste.
- Apply on your face.
- Leave it for 25 minutes.
- Wash it off.
Benefits:
- This will lighten overall skin tone.
- Reduce dark spots, pigmentation, melasma, pimple marks, and freckles.
- Prevent the skin from premature aging.
- Add glow.
- Improve skin texture.
- Tighten skin and helps reduce the size of the pores.
- Use this face pack thrice a week to get clear skin.
Tips For Homemade Facial:
- You can use an extraction tool to extract blackheads and whiteheads after scrubbing your face.
- Let your skin breathe after this facial treatment and avoid applying makeup for at least an hour.
- Repeat this facial twice a month.
- To maintain your skin glowing and dirt free, scrub your face twice a week.
- You can use a homemade face pack daily for 5-10 minutes for glowing smooth skin.
- Follow a dedicated skincare routine to maintain your skin health.
If you have any suggestions or questions regarding this homemade facial, feel free to comment below.


