
Are you tired of changing your cleansers every time? I know it is difficult to choose wisely. your skincare products especially when it is time to choose the face wash. You are on the right platform right now to make homemade lemon soap to solve multiple skin issues. Try this pour and melt soap for your healthy skin that contains all the natural simple ingredients. This homemade lemon soap is a superb idea if you are suffering from two-toned skin, acne breakouts, or uneven skin.
You eat lemons every day, right? I am sure you throw away the peels into the garbage. Now it is time to save those peels, make them into powdered form and get healthy spotless skin at home. Or you can make a zest of lemons. Both lemon peel powder and lemon zest are beneficial for the skin for many purposes.
Do you know what is lemon zest? And what are the benefits of lemon zest and lemon peel for the skin?
Read below.
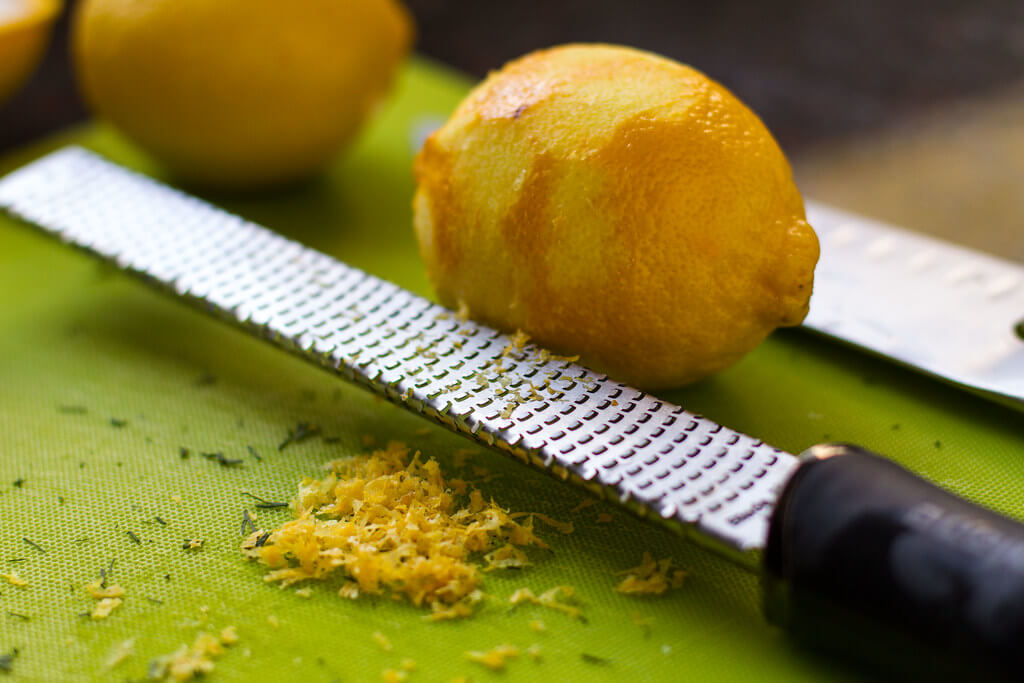
What is lemon zest?
The yellow part of the lemon peel is lemon zest.
Benefits of lemon zest for the skin?
It has many benefits for the skin. Below are mentioned:
- Acts as a natural deodorant
- Natural powerful cleanser
- Lightens pigmentations and blemishes.
- Fades dark spots and black spots
- Remove pimples marks.
- Prevent acne.
- Natural detoxifier
- Stimulate new skin growth
- Leaves the skin soft and smooth
- Lightens and brightens skin.
- Natural hydration for the skin.
- Add glow to the skin.
Do you know how to zest a lemon? Read below carefully for the procedure.
How to zest lemons?
- Wash lemons properly.
- With the help of the vegetable peeler, sharp knife, or grater, carefully peel off the strip of the lemon.
- Peel from the top to bottom.
- Peel only the topmost layers of the lemon skin.
- Keep zesting until the entire yellow part is removed.
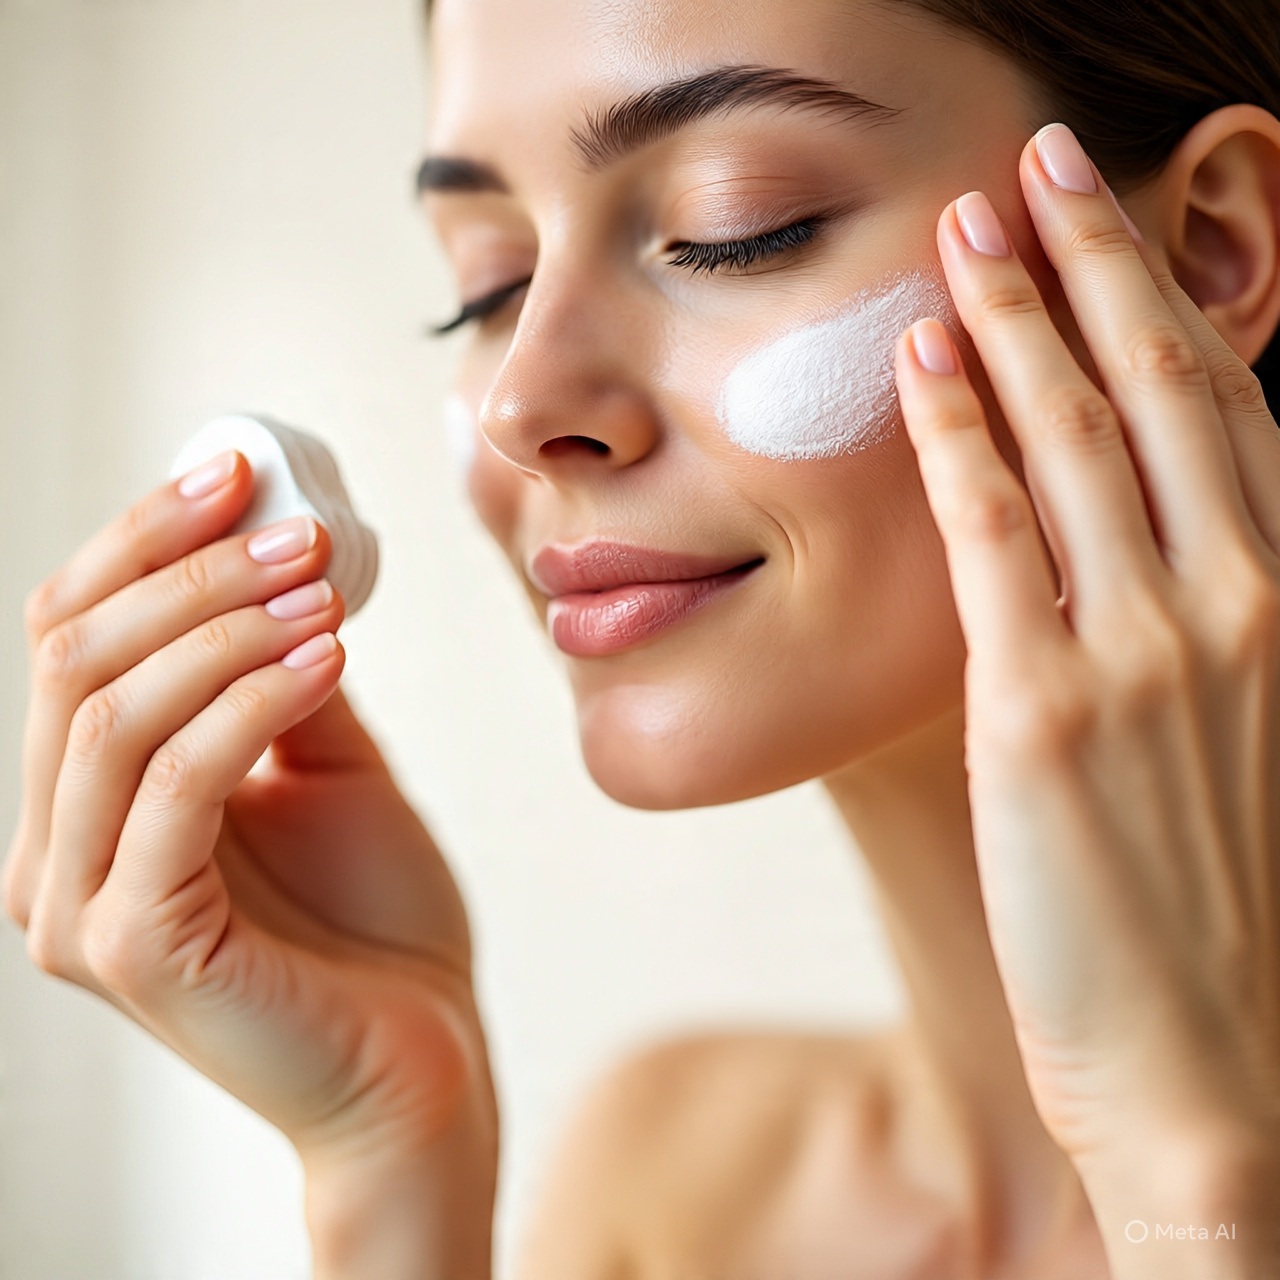
Cleansers should be very effective and contain powerful ingredients. that can easily remove all the dirt, impurities, sweat, makeup, and bacteria deeply from the skin. It prevent pores to be clogged or blocked. If you will not choose a good cleanser, dirt and pollution accumulate at the surface of the skin and could potentially contribute to aging, breakouts, and other skin issues. Read below for 2 types of homemade lemon soap for both dry and oily skin. You don’t have to worry about the procedure it is a very easy pour and melts soap method that can easily be prepared in less time.
I love discovering DIY skin-care products that are all safe and suitable for all skin types. Natural ingredients soothe irritation and are gentler and better for the skin.
Aloe vera is one of the best natural ingredient for spotless and healthy skin. Visit this for 10 overnight aloe vera mask for clean and clear skin.
Homemade lemon soap (DIY pour and melt soap for skin lightening and pimples)
(Homemade lemon soap for Oily skin)
Ingredients:
Lemon Zest 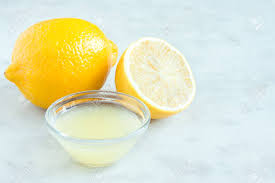
Lemon Juice 
Fresh Aloe Vera Gel 
Tea Tree Oil 
Sweet Almond Oil 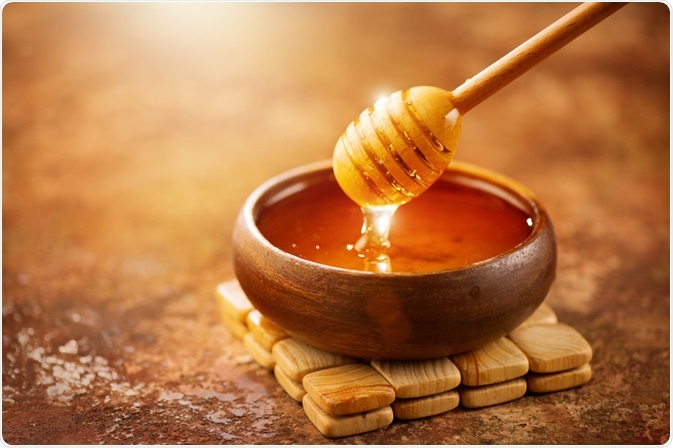
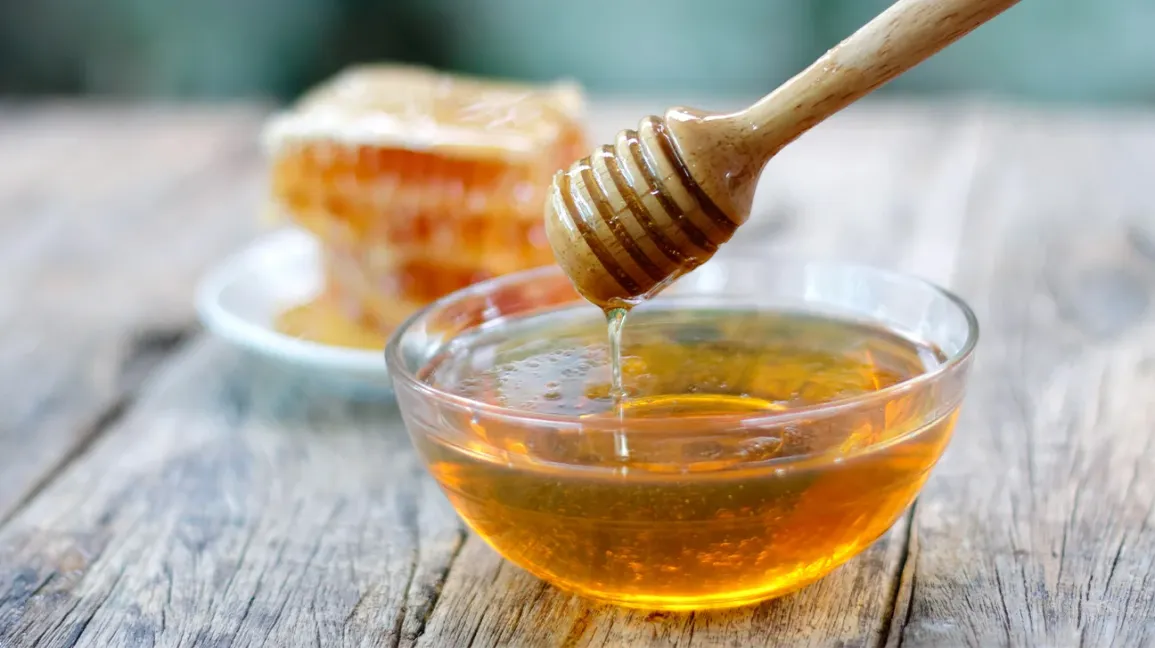
Honey 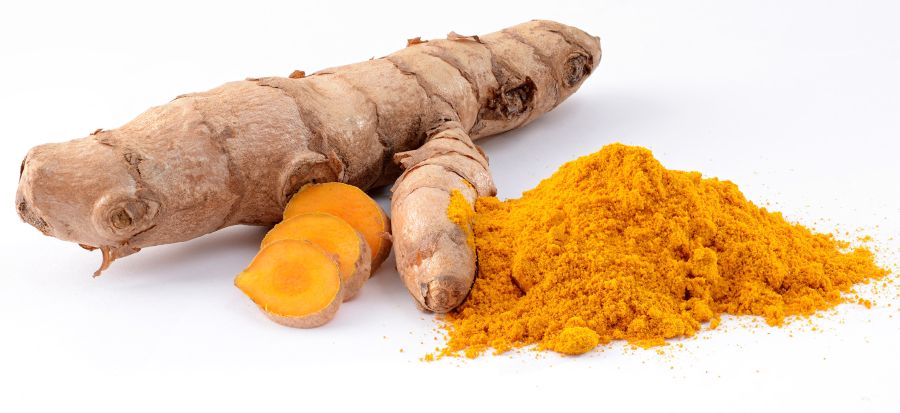
Wild Turmeric 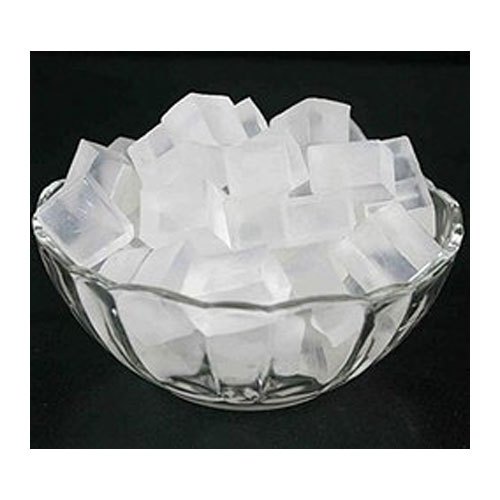
Soap Base
- Lemon zest (1 tablespoon)
- Lemon juice (1 tablespoon)
- Aloe vera gel (4 tablespoons)
- Tea tree oil (few drops)
- Sweet almond oil (½ teaspoon)
- Honey (1 tablespoon)
- Wild turmeric (1 pinch)
- Soap base or pears soap
Method to make pour and melt soap?
- Grate the soap base with the grater or cut them into small pieces.
- Melt it into the double boiler.
- Keep stirring until it melts completely.
- Once it melts, add all the ingredients gradually.
- Mix it properly.
- Switch off the flame.
- Pour the soap into any mold
- All it to cool.
How to store homemade soap?
- This homemade soap can be last for 1 month in a refrigerator.
How to use lemon soap?
- Take a small piece of this soap and make a lather from this.
- Apply all over the face.
- Massage for few seconds.
- Wash it off.
- Apply a natural toner. (Homemade natural toner for glowing skin)
- After using this homemade soap, keep this in a fridge or at a cool temperature.
Turmeric is very effective for the skin, visit this site for making turmeric soap at home with natural ingredients.
Homemade lemon soap (DIY pour and melt soap for skin lightening and dark spots)
(Homemade lemon soap for Dry skin)
Ingredients:
Lemon Zest Lemon Juice 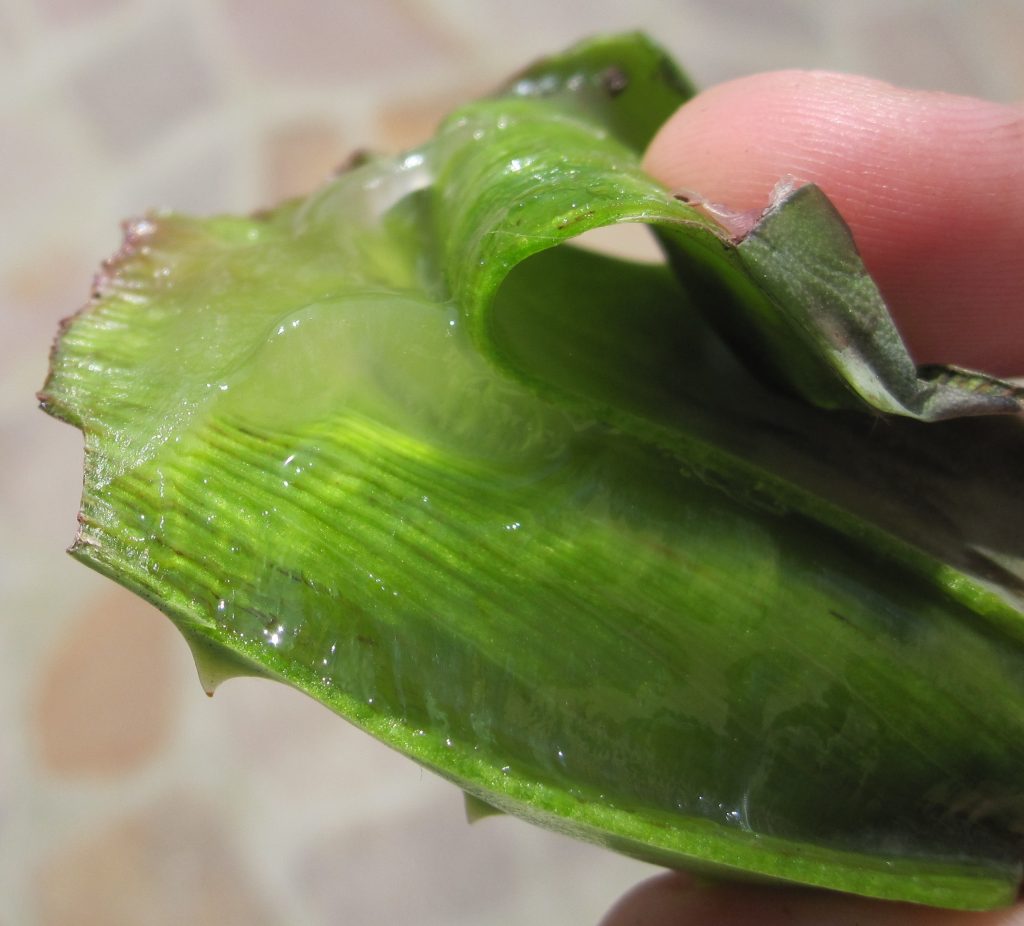
Fresh Aloe Vera 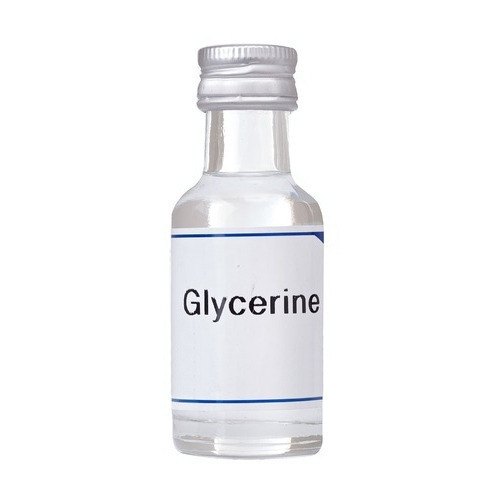
Glycerine Sweet Almond Oil 
Vitamin E Oil recibeauty
- Lemon zest (1 tablespoon)
- Lemon juice (1 tablespoon)
- Aloe vera gel (4 tablespoons)
- Glycerin (1 teaspoon)
- Sweet almond oil (½ teaspoon)
- Vitamin E oil (3 capsule or ½ teaspoon)
- Honey (1 tablespoon)
- Wild turmeric (1 pinch)
- Soap base or pears soap
Method to make pour and melt soap?
- Grate the soap base with the grater or cut them into small pieces.
- Melt it into the double boiler.
- Keep stirring until it melts completely.
- Once it melts, add all the ingredients gradually.
- Mix it properly.
- Switch off the flame.
- Pour the soap into any mold
- All it to cool.
How to store homemade soap?
- This homemade soap can be last for 1 month in a refrigerator.
How to use lemon soap?
- Take a small piece of this soap and make a lather from this.
- Apply all over the face.
- Massage for few seconds.
- Wash it off.
- Apply a toner. Visit this site for making DIY toner to shrinking pores.
- After using this homemade soap, keep this in a fridge or at a cool temperature.
- Moisturizer is essential for healthy glowing skin. Visit this site for making cucumber and carrot moisturizer for glowing and spotless skin.
Tips for melt and pour soap making:
- Grease your mold before you start.
- Since it contains zero preservatives so it is recommended to keep the homemade soap in a refrigerator.
- To use, take a small amount of soap, apply for washing your face, and again place at a cool temperature.
- You can add coconut oil or castor oil if your skin is dry, rough, and flaked.
- If your skin is sensitive, you can skip the lemon juice.
- The soap base is the best option to make soap, but you can use pears soap as well.
- If your skin is oily use pears soap (green in color)
- If your skin is dry use pears soap (orange in color)
- Use within one month.
- Enjoy and get glowing skin at home.

